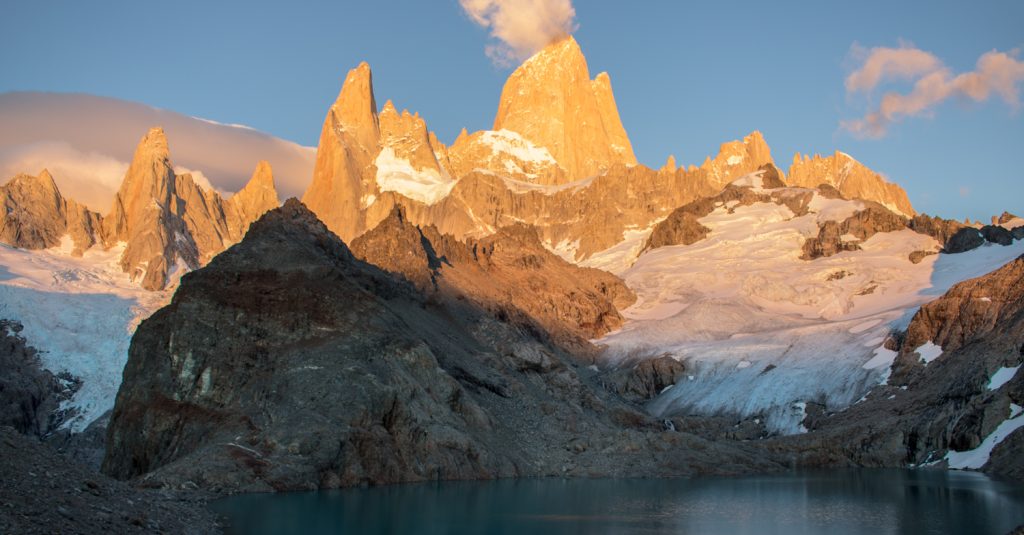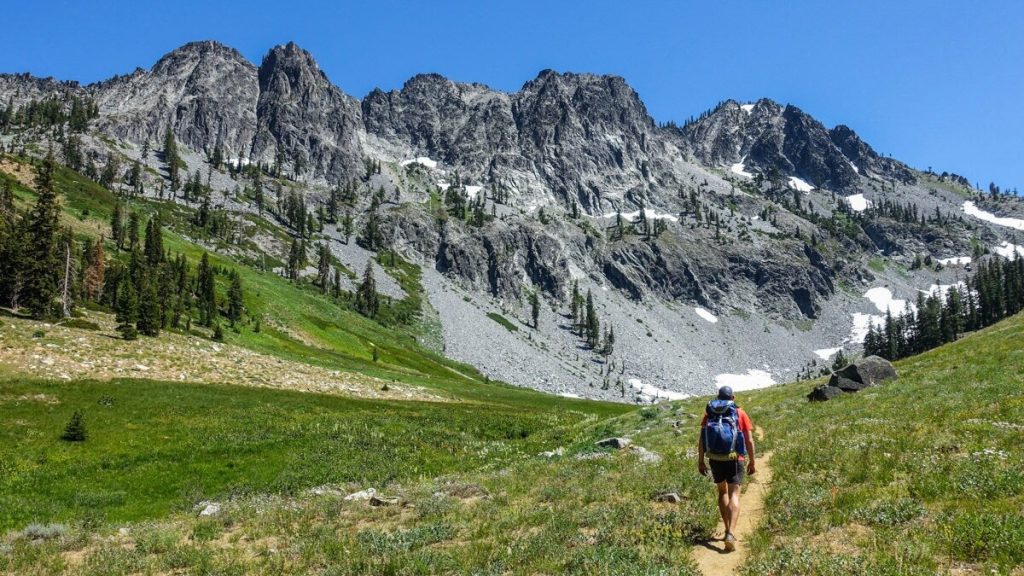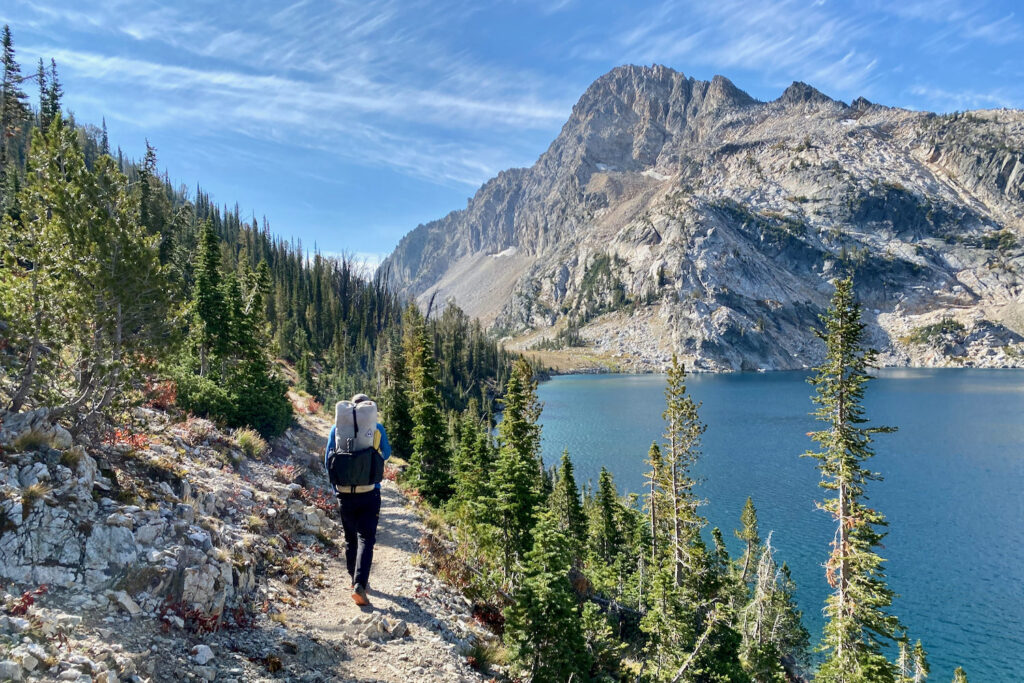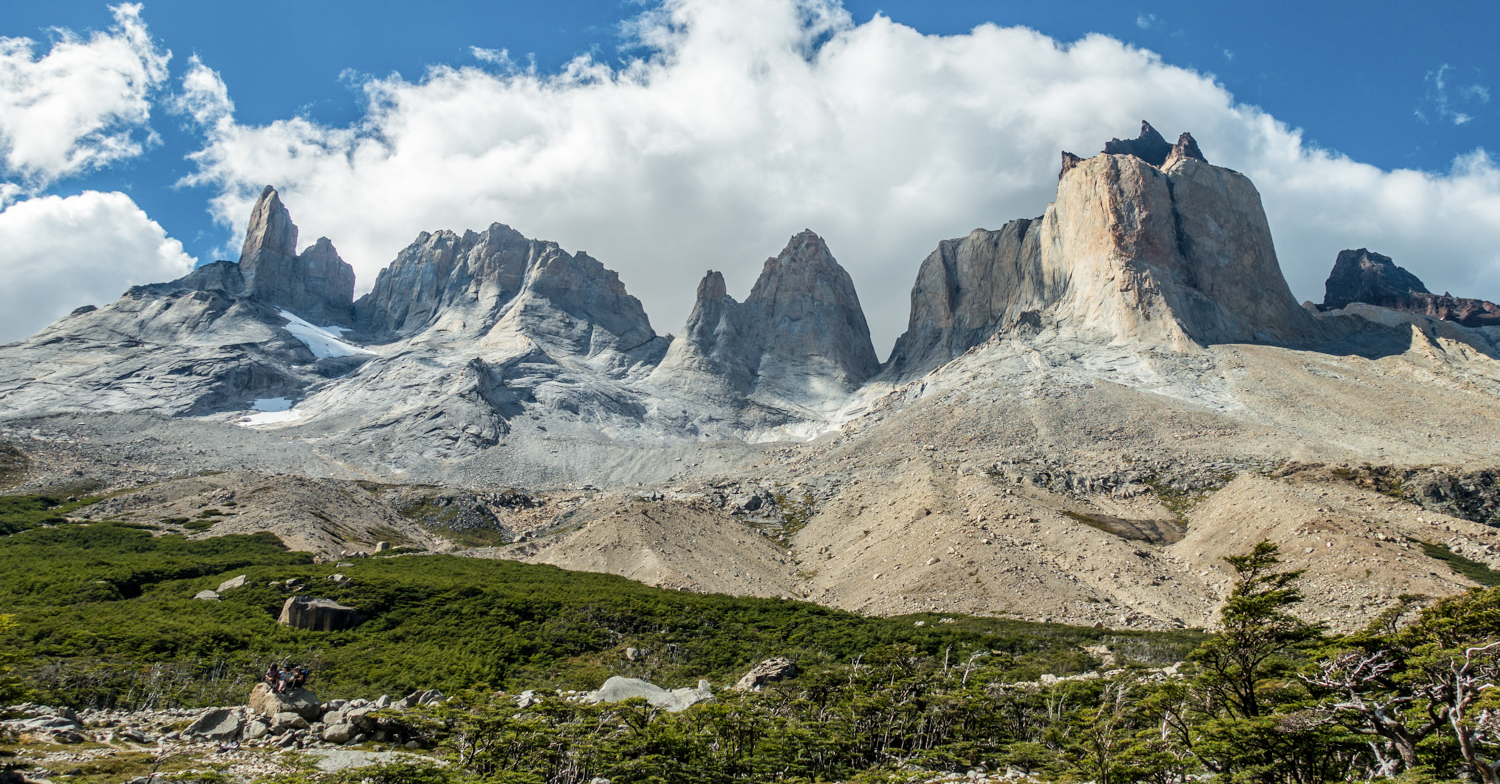
If it’s your first time visiting Patagonia, Torres del Paine is a must-visit destination. This spectacular region of Chile offers some of the best trekking in the world. With dramatic granite spires, immense glaciers, and glistening turquoise lakes, Torres del Paine has all the ingredients for an unforgettable and rugged adventure.
For all its beauty and grandeur, hiking in Torres del Paine can be a very accessible activity. Trekking tourism has increased dramatically in Patagonia over the past decade, so you should expect to be sharing the trails. Though many people hike with organized tour groups, hiking independently is very possible. We created this guide to help people navigate all the details of trekking in Torres del Paine: which trek to choose, campsite information, hiking itineraries, what to pack, and more.
When to Visit
SUMMER (December-February)
Peak hiking season in Patagonia is from December through February – the South American summer – when the temperatures are the warmest and days the longest. Though hiking in 60-70 degree temperatures is extremely pleasant, the trails will be more crowded. The wind can also be quite fierce during the summer months, with gusts up to 75 mph at times. It’s common to receive some precipitation during the summer as well, though with less intensity than in the fall.
FALL (March-April)
Hiking in the fall can be a nice alternative to summer. The temperatures will be slightly cooler, but the crowds are also lighter and the wind is often less intense. However, precipitation can be highest in April and May, so you’ll want to plan accordingly. Many people also choose to come during fall months to watch the trees turn from green to a fiery red, which is a breathtaking contrast against granite and glaciers.
SPRING (September-November)
Hiking in the spring is a great way to enjoy Patagonia before the busy summer tourist season gets underway. Temperatures are cool with daytime highs averaging in the 50s, so you’ll need to bring warmer clothing and a good sleeping bag. However, you can typically expect less wind and less precipitation in spring compared to summer.
Weather (and Wind!)
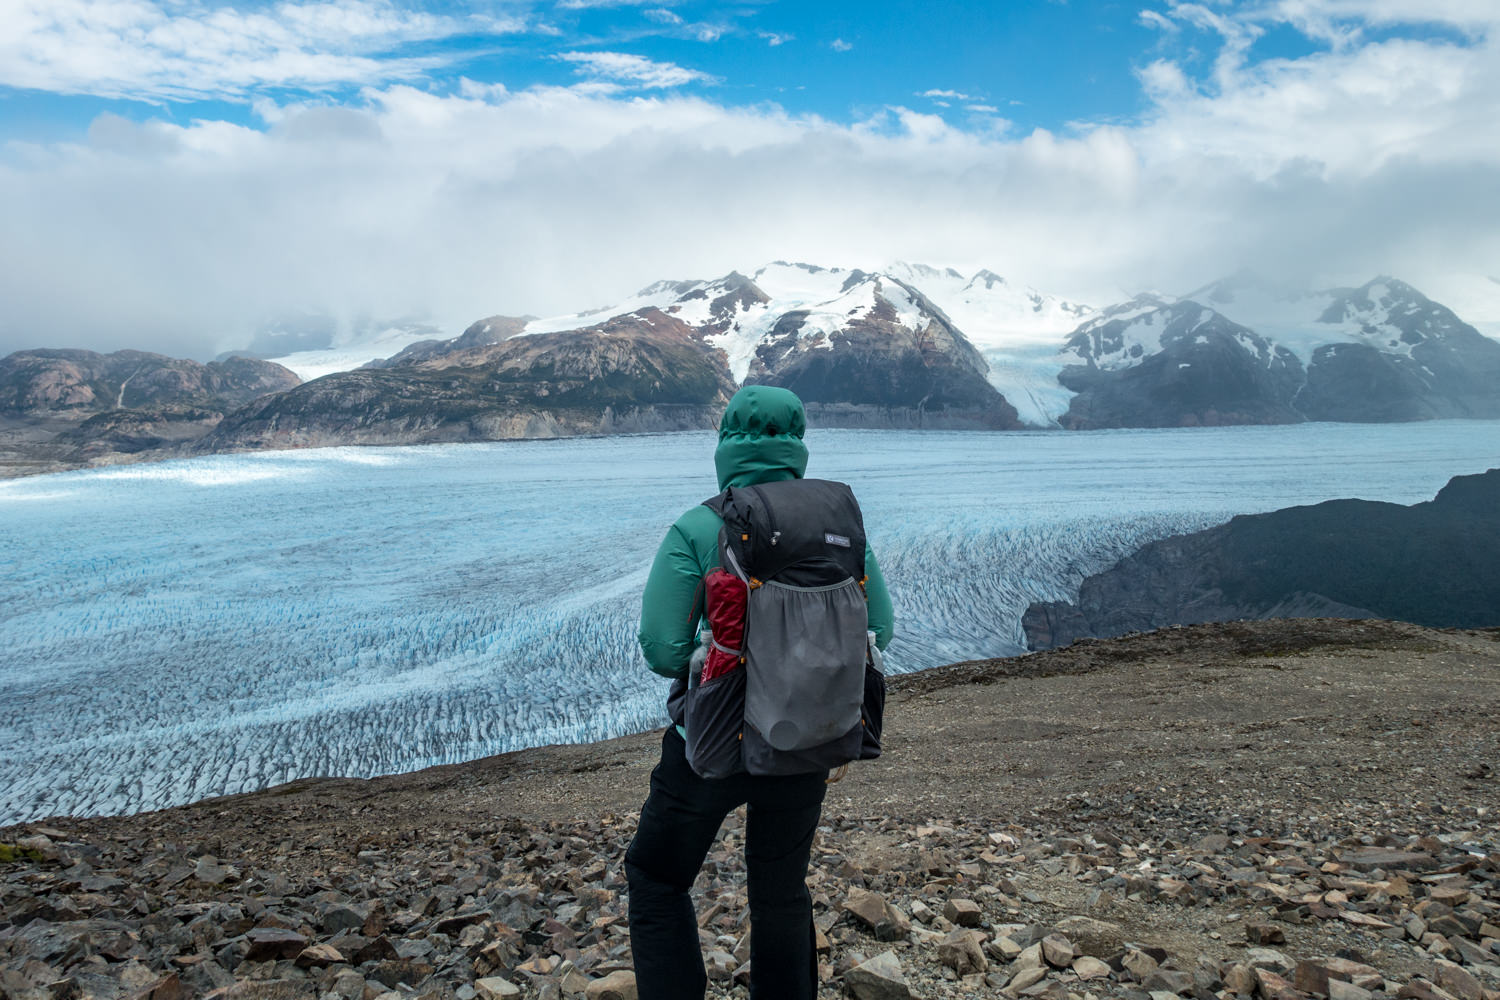
The weather in Patagonia is ever-changing and unpredictable. You can plan your trip (and gear) around the season, but you need to be ready for unpredictable weather systems. You’ll often hear people talk about how you can experience all four seasons in one day, any day of the year. During your trip, you’ll most likely experience some rain, but what will stick with you are the winds. They will be like nothing you’ve experienced before. The strongest winds occur during the summer months of December to February, with calmer air in spring and fall. Interestingly, the wind is almost non-existent in winter.
Be careful on exposed ledges, suspension bridges, and high mountain passes if winds are high. We like windguru.com as a source for wind information, which will provide data on wind speed and gusts, precipitation, and cloud cover. If you stop by a ranger station in the area you’ll be hiking, they will most likely have the Wind Guru forecast printed and can help you decipher the somewhat confusing grid of numbers.
Hiking Routes: The W, O, and Q
W TREK
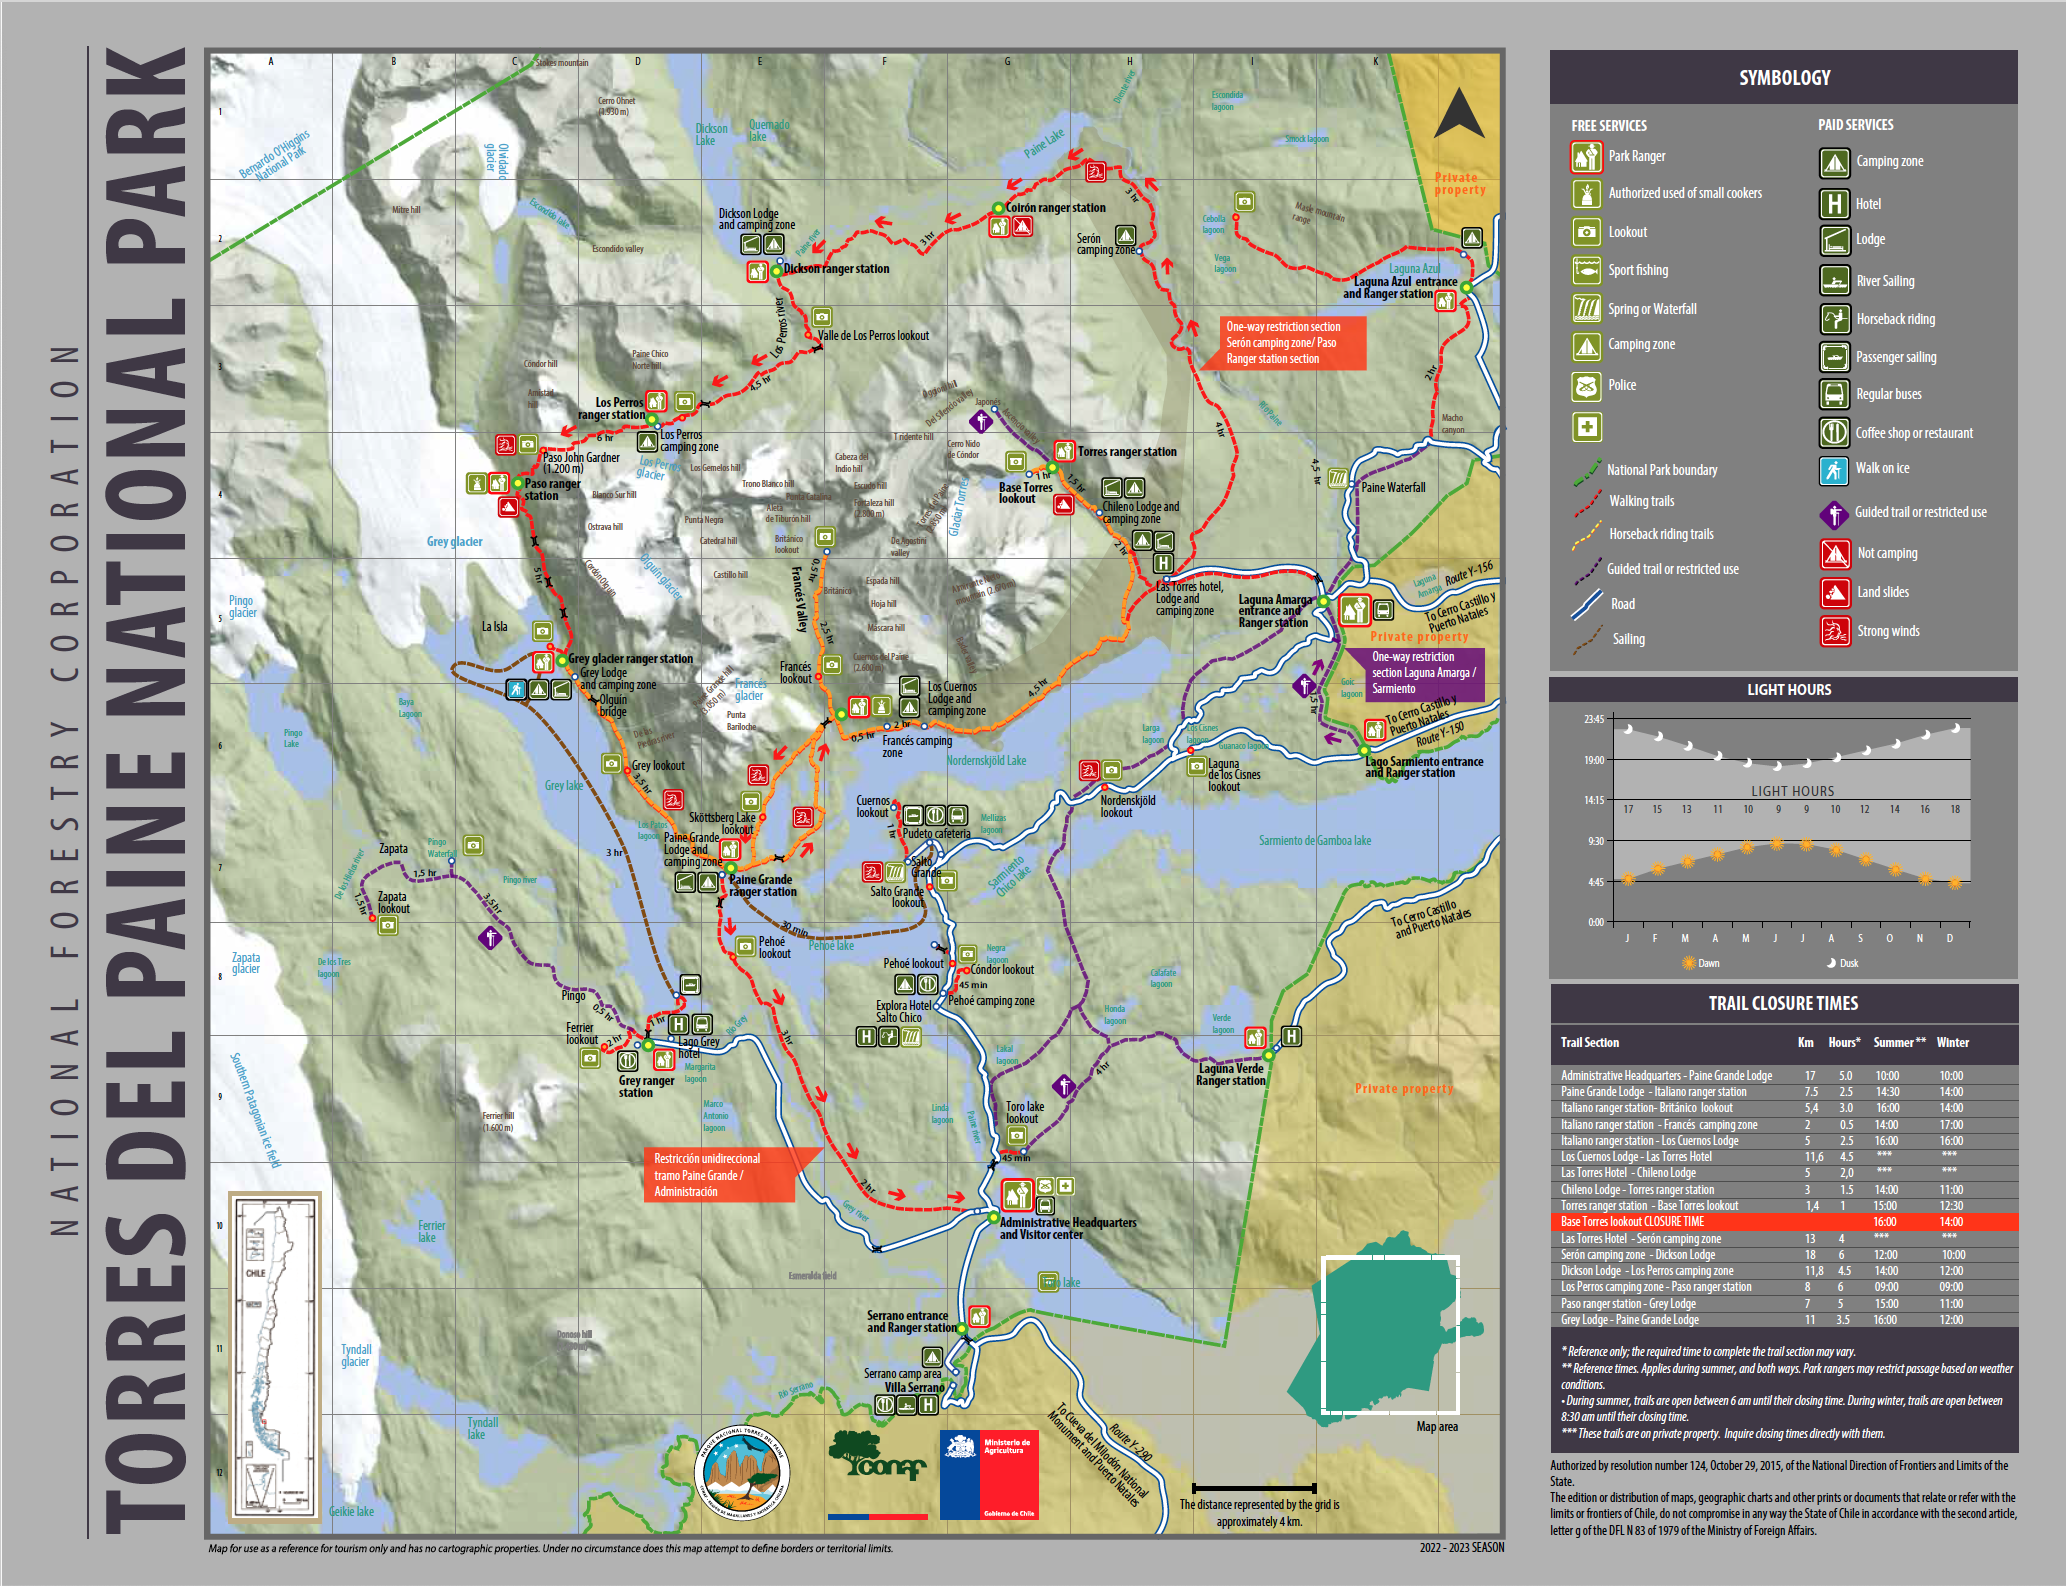
The most popular trek in the park, the W trek is roughly 80 km (50 miles) long and can be completed in 3-5 days. It covers some of the most iconic highlights in the park: Grey Glacier, Frances Valley, and the infamous Torres (towers). In high season, the route will be jam-packed with independent hikers, large tour groups, and day hikers. Though the route is busy, the sights are undeniably awe-inspiring.
O TREK
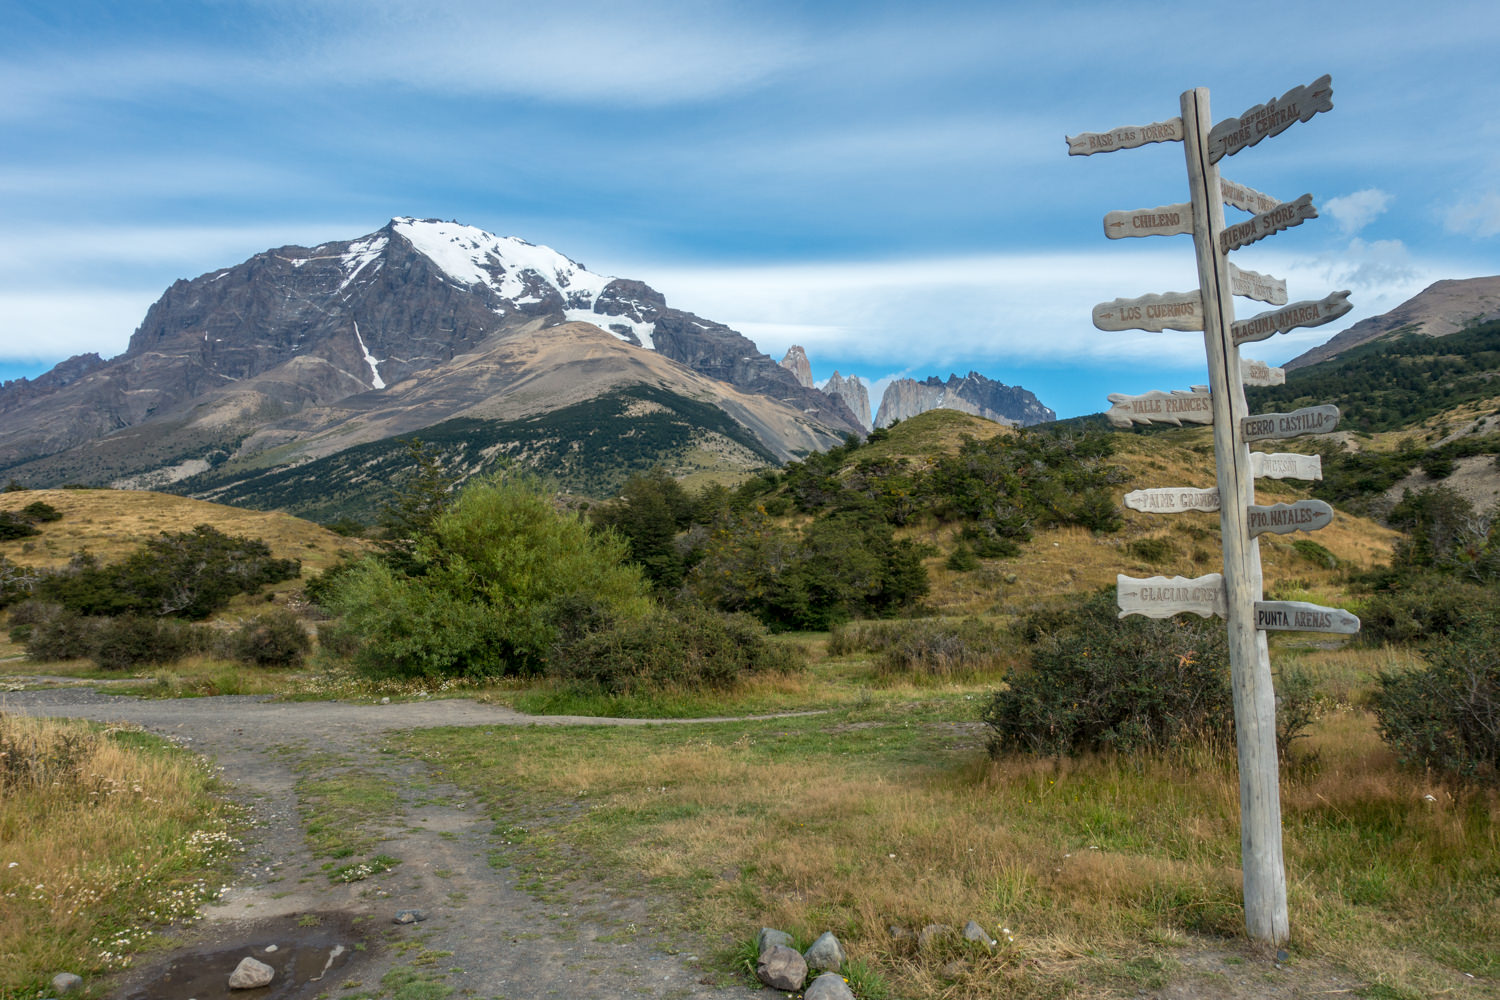
Also known as the Circuit, the O Trek covers the same trail as the W Trek, but circumnavigates the Cordillera del Paine over the course of 110 km (68 miles). Generally completed in 6-9 days, you’ll spend 2-3 nights camping on the less-traveled back side, which offers more solitude and opportunities to see the varied terrain of Torres del Paine. Traveling on the backside of the park requires you to cross Paso John Gardner, which can be challenging (and sometimes closed) due to poor weather, high winds, and/or low visibility. The O trek is definitely a notch up in difficulty, but if you’re looking for more adventure, it’s truly a spectacular route away from the crowds. You can only complete the Circuit Trek in a counterclockwise direction.
Q TREK
Covering the most trail in Torres del Paine, the Q Trek travels the same route as the O, with an additional day of hiking south of Refugio Paine Grande along Lake Pehoe. Very few hikers cover this additional section, so you’d have some solitude and also earn one of the most spectacular views of the park – the Cordillera Paine rising above Lake Pehoe. CONAF only allows one-way travel from Paine Grande to Administracion, which requires you to end your Torres del Paine hiking there.
Getting to Torres del Paine
Most people begin their journey to Patagonia through either Santiago or Buenos Aires with a connecting flight to Punta Arenas. From Punta Arenas, you’ll take a roughly 3.5-hour bus ride to Puerto Natales, which is the gateway town to Parque Nacional Torres del Paine. There are many bus companies running this route and most buses are comfortable and punctual. We recommend buying your bus tickets ahead of time, especially during peak season.
From Puerto Natales, you’ll need to take a 90-minute bus ride to Torres del Paine on the day you plan on beginning your hike. You can either buy these online as well or buy them at the bus station in Puerto Natales.
Trekking Preparations
There is a large UniMark grocery store in town as well as many small shops catering to hikers with dried fruits, nuts, and other trekking grub. You’ll most likely need to pick up an isobutane-propane canister or two for your backpacking stove – which is readily available around town. Puerto Natales is also a great place to purchase or rent any backpacking gear.
Prior to your trek, we highly recommend stopping by Erratic Rock Hostel for their Torres del Paine info session. It’s held every day at 3:00 pm and covers the details you’ll need for your trek (weather, equipment, trail food, packing, refugios, trekking, climbing, transportation, the catamaran). We found it incredibly helpful, and the people leading the talk were awesome!
Independent vs. Guided Hiking
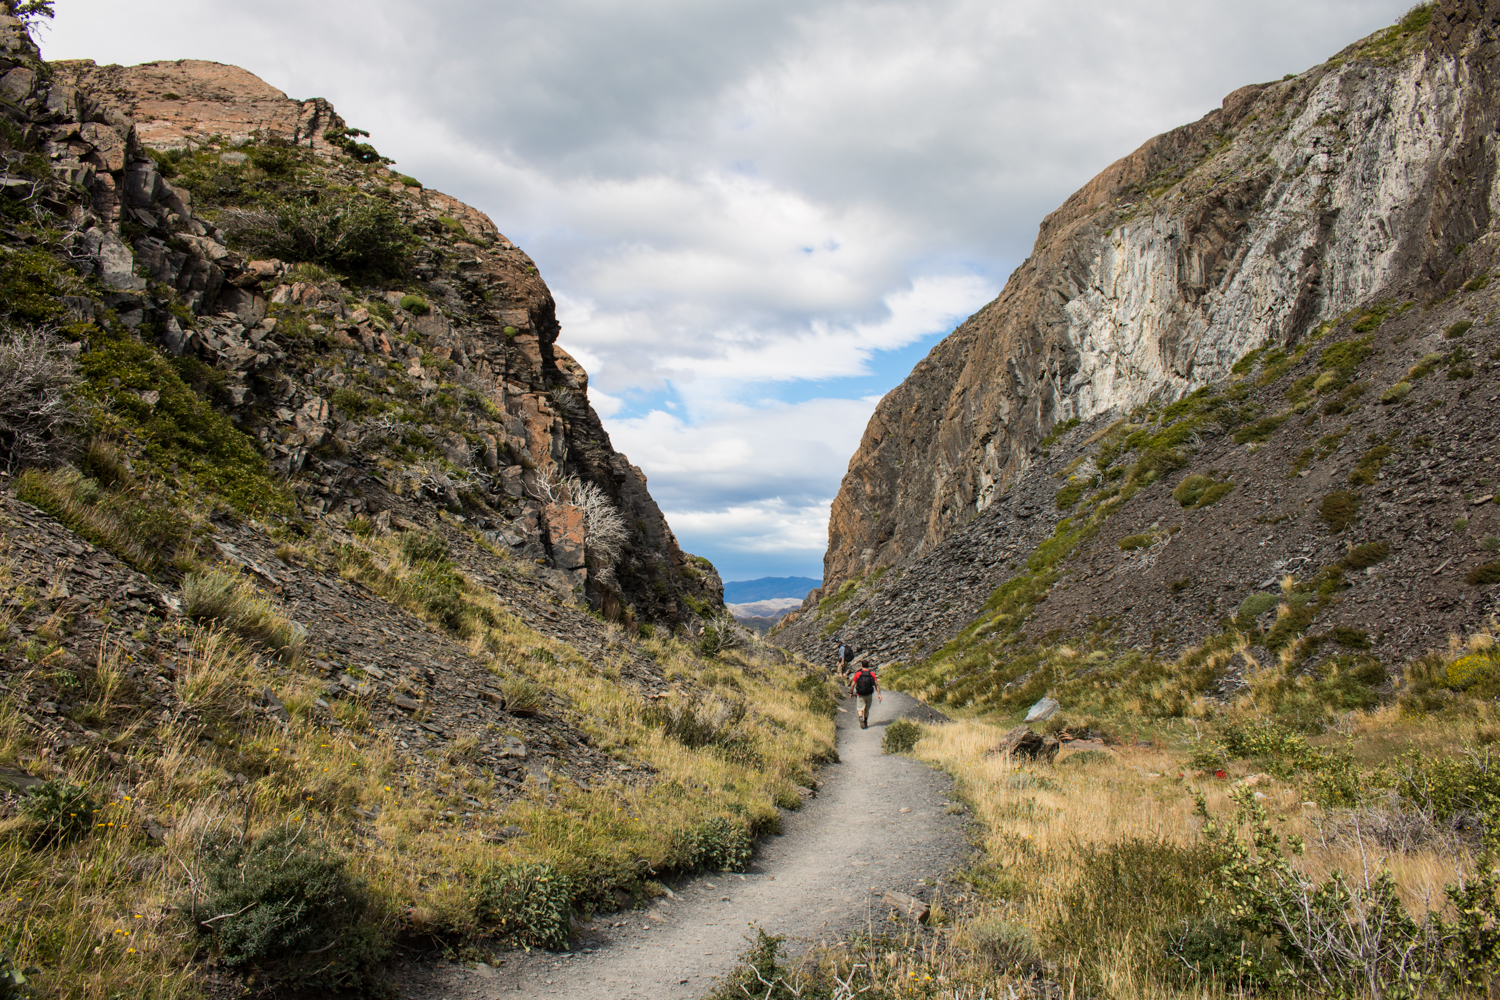
This is an important consideration for many planning a visit to Torres del Paine, and the choice will likely come down to experience, personal preference, and your desire to put in the time to plan your own trip.
If you’re an experienced backpacker, it is absolutely possible to hike independently. The trails are well-marked and maintained and if you stay on trail (and you absolutely should), it’s nearly impossible to get lost. If you plan to hike independently, you’ll need to have a good map, necessary campsites booked, and your own backpacking gear. There is also an option of renting gear in Puerto Natales or pre-arranging installed camping gear (tent, mattress, sleeping bag) with each campsite (more on that in the accommodations section below).
If you don’t want to sweat all the planning details or can’t obtain the reservations you need independently, you have the option of going with a guide or tour. Guides can bring more to the table than just logistics management. Booking campsites in Torres del Paine can be confusing and hard to acquire. When you book with an agency, they take care of all the details (lodging, food, transportation, permits, etc). Furthermore, a good guide can also teach you about the local culture, flora, and fauna. You’ll most likely have a group consisting of hikers from all over the world, which can make for a fun and interactive trip. However, expect to pay a high price for these services.
Though quality of service, lodging options, and prices can vary greatly by travel agency, below are some average costs of guided treks within Torres del Paine with full board (all meals and accommodation) included. Some agencies include all your transportation and lodging from Punta Arenas.
- W Trek : $1000-$3500 per person
- O Trek: $2000-$5000 per person
GUIDED TREKKING PROS
- All pre-trip details handled (permits, campsites)
- All transportation arranged
- Little worry about any details while hiking (lodging, meals, route, schedule)
- Local information on culture, food, etc.
INDEPENDENT TREKKING PROS
- Can be much less expensive
- Hike on your own schedule
- No group dynamics to deal with, just you and the trail
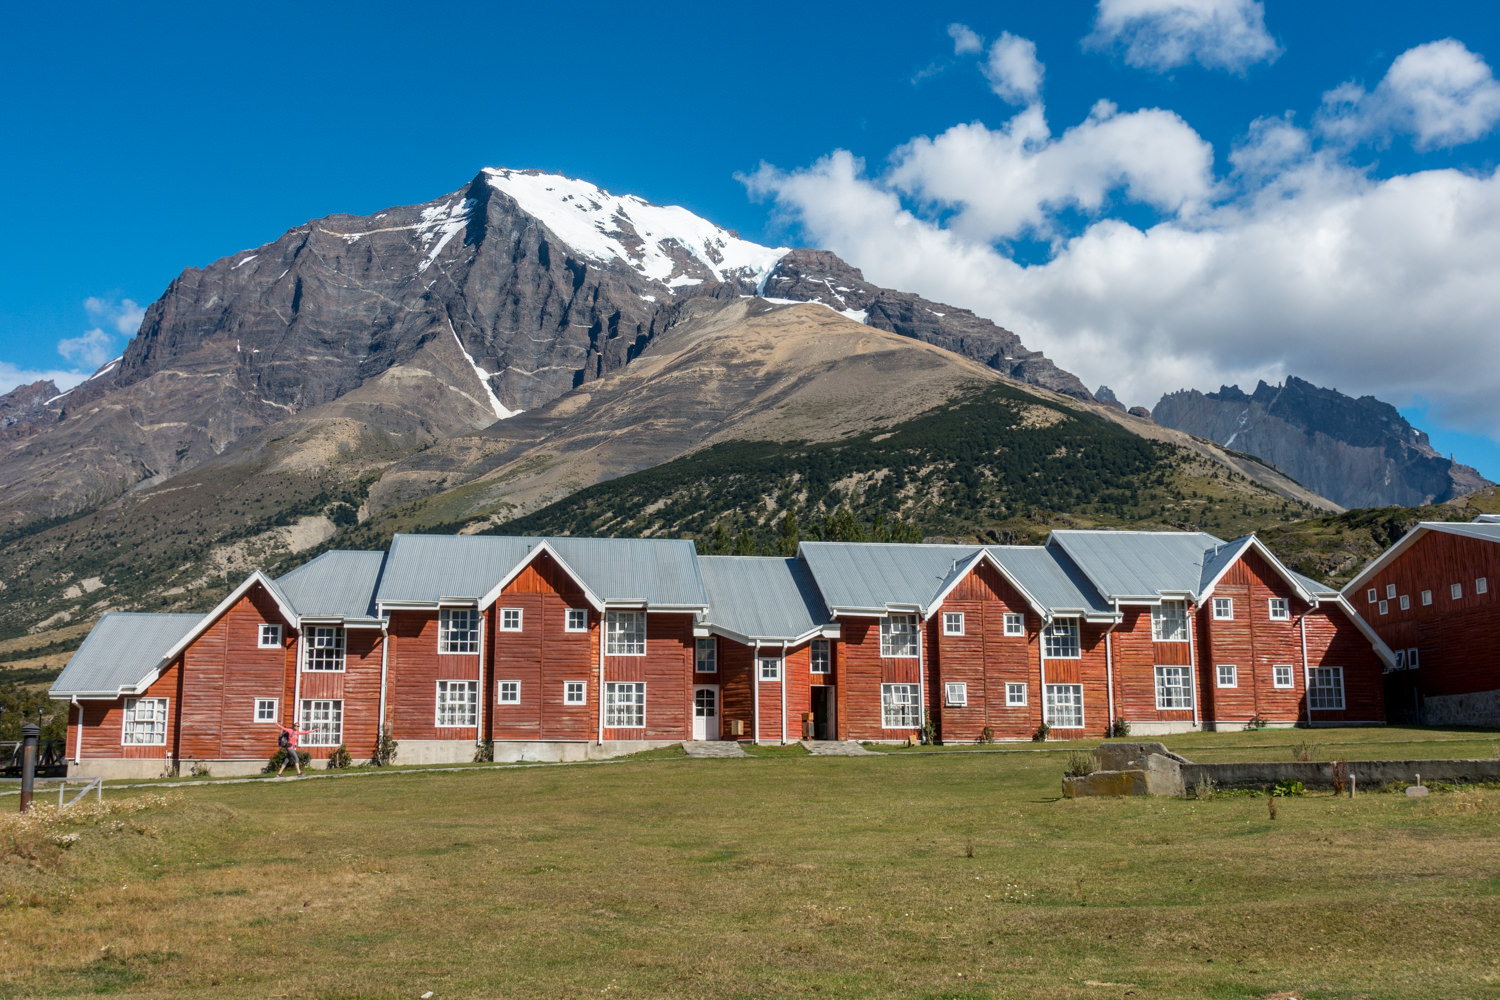
Campsite Reservations
If you’re hiking independently, you’ll be required to book your own campsites. You must have reservations for all campsites or refugios prior to entering the park. Your proof of reservation will be checked at different control areas as well as all campsites and refugios, so don’t attempt to enter the park without proof of reservation.
Due to increasing popularity, you’ll need to book your campsites months out. One complicating factor is that there are two different agencies you’ll need to book through in order to complete the full circuit: Vertice Patagonia and Las Torres.
When we last hiked Torres del Paine, we also booked free campsites (Paso and Italiano) through CONAF – the government agency that manages Torres del Paine National Park. However, these campsites have been closed since the COVID-19 pandemic and remain unavailable as of the 2025/2026 season.
Bookings typically open between late April and early June for the following season. In order to book your trip, you will need to organize your own itinerary with specific dates and desired campsites. Once you have an itinerary, you’ll need to ensure availability with all three agencies, which can take patience and a lot of perseverance.
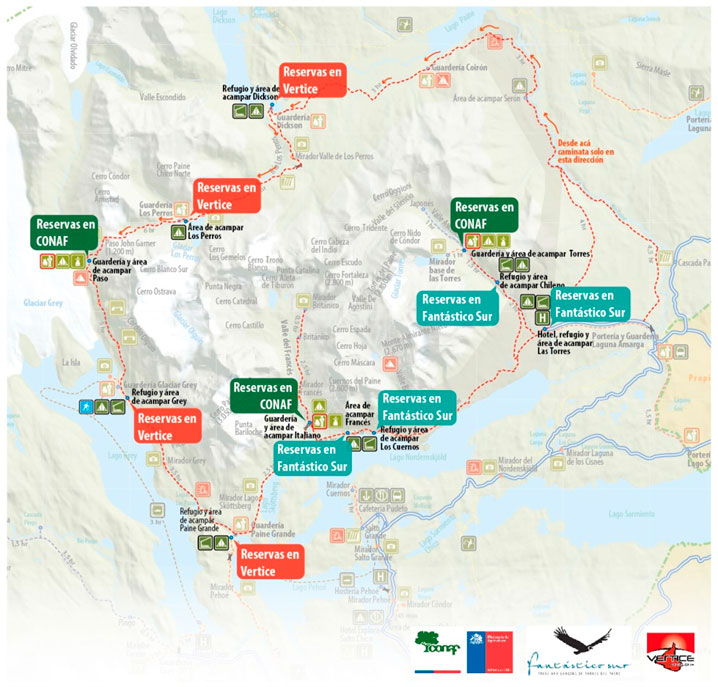
Vertice Patagonia
- Campsites Paine Grande, Gray, Dickson, Los Perros
- Refugios: Paine Grande, Gray, and Dickson.
These campsites and refugios range in quality and offerings. You can check their website for what is available at each site. Many people book all-inclusive guided trips for the W and O treks through Vertice Patagonia. You can make reservations online.
LAS TORRES PATAGONIA
- Campsites: Seron, Las Torres, Chileno, Frances
- Refugios: Torre Central and Torre Norte, Chileno, Cuernos
- Domes: Frances
- Cabanas: Cuernos
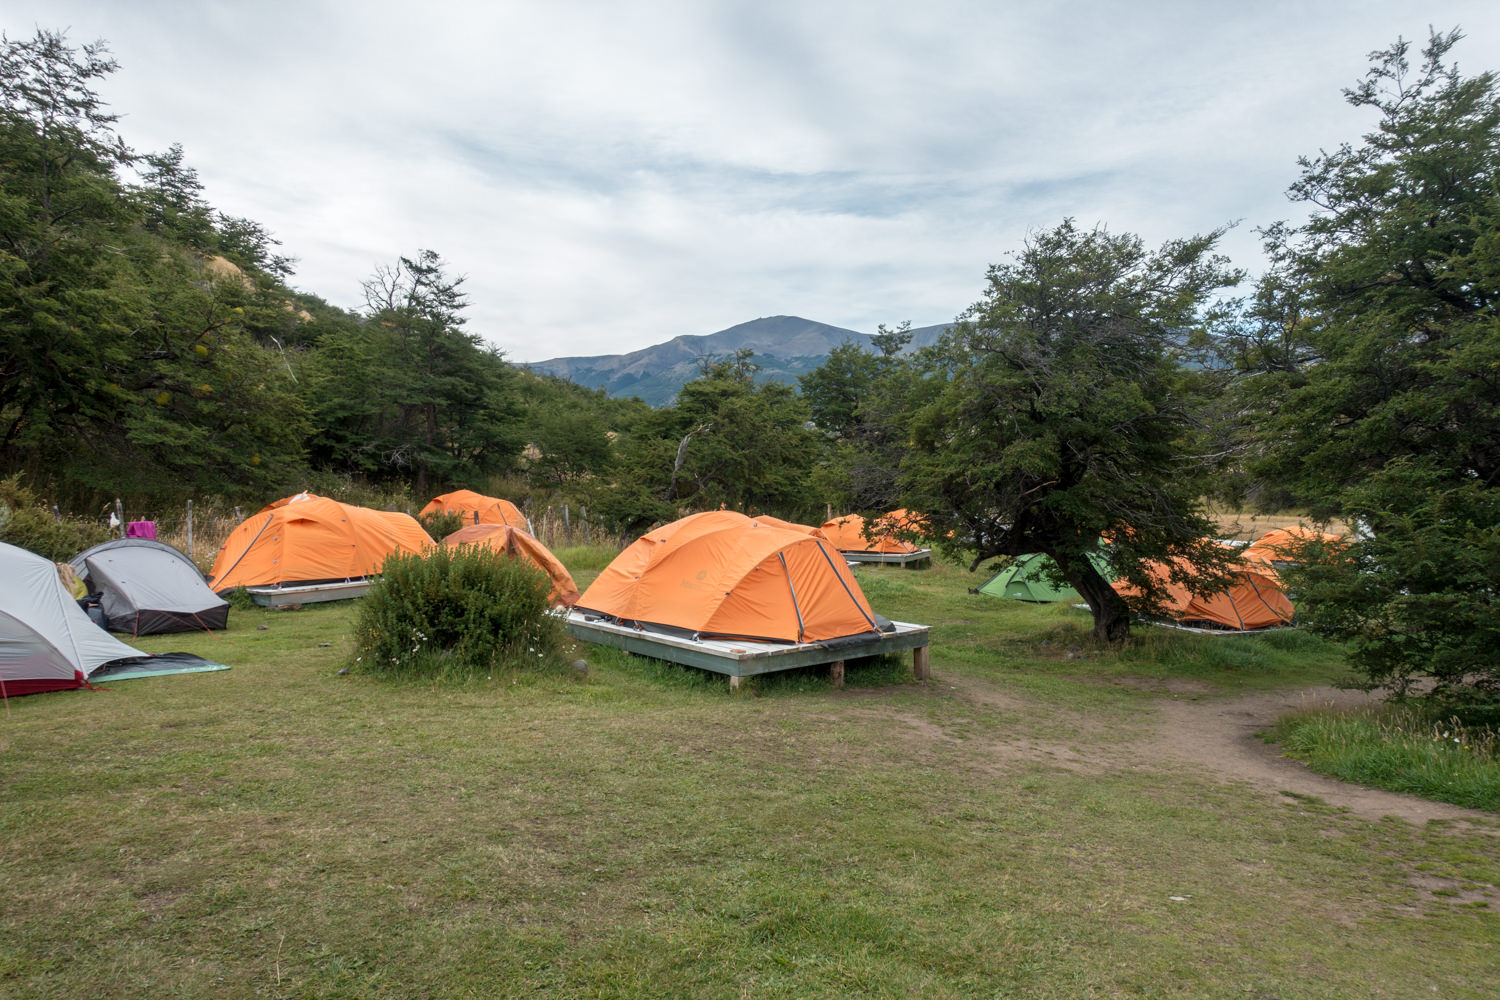
Las Torres’s accommodation options can be somewhat confusing to decipher. There are some campsites (Chileno and Cuernos) where they don’t provide a cooking area, which means you have no choice but to pay for full board. Although full board can be costly when you’re used to cooking your own meals, we found the meals at Chileno to be delicious and high-quality. Your two camping options at many of their sites are platform and platform premium.
CONAF
- Campsites: Paso, Italiano, and Torres
CONAF closed these free campsites during the COVID-19 pandemic, and they have not reopened as of the 2025/2026 season. You will need to plan an itinerary that does not include these campsites.
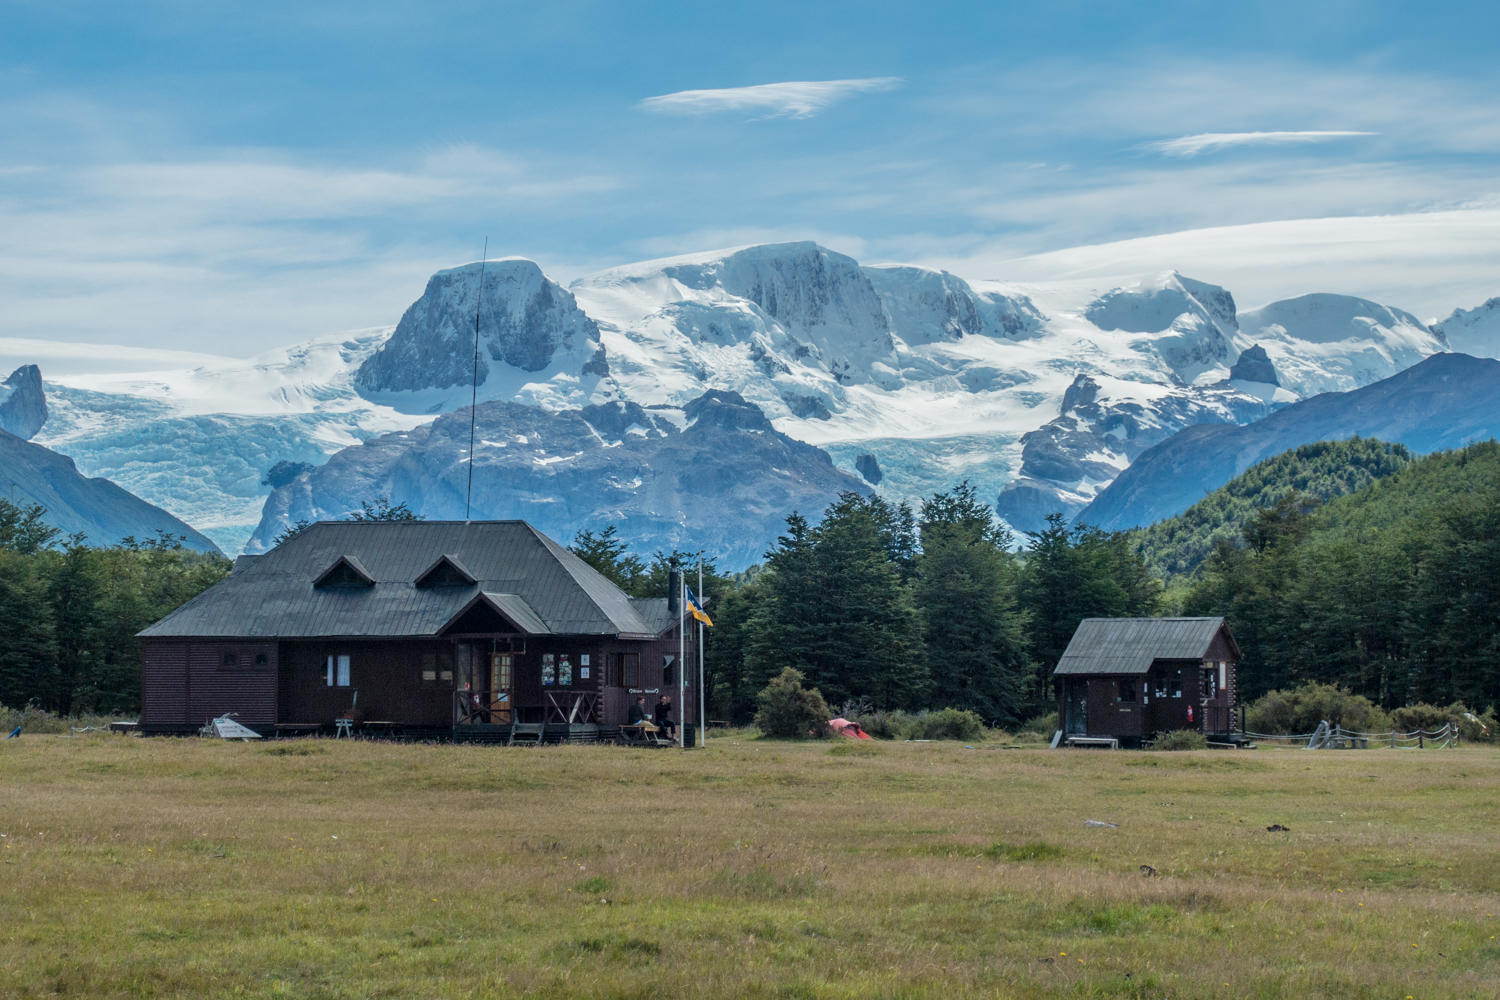
Accommodation Types
REFUGIOS
The most expensive accommodation option, refugios are simple mountain lodges with bunk-bed style mixed dormitories. They often offer shared bathrooms with shower and hot water, a restaurant and bar, and living rooms that are generally heated with firewood, if need be. Refugios can range from small charming huts that sleep 27 (Refugio Dickson) to large, hotel style refugios that sleep 100 (Refugio Paine Grande).
Although you’ll be sleeping in a bed, we still recommend bringing a sleeping bag as you may only be offered a bottom sheet in some refugios.
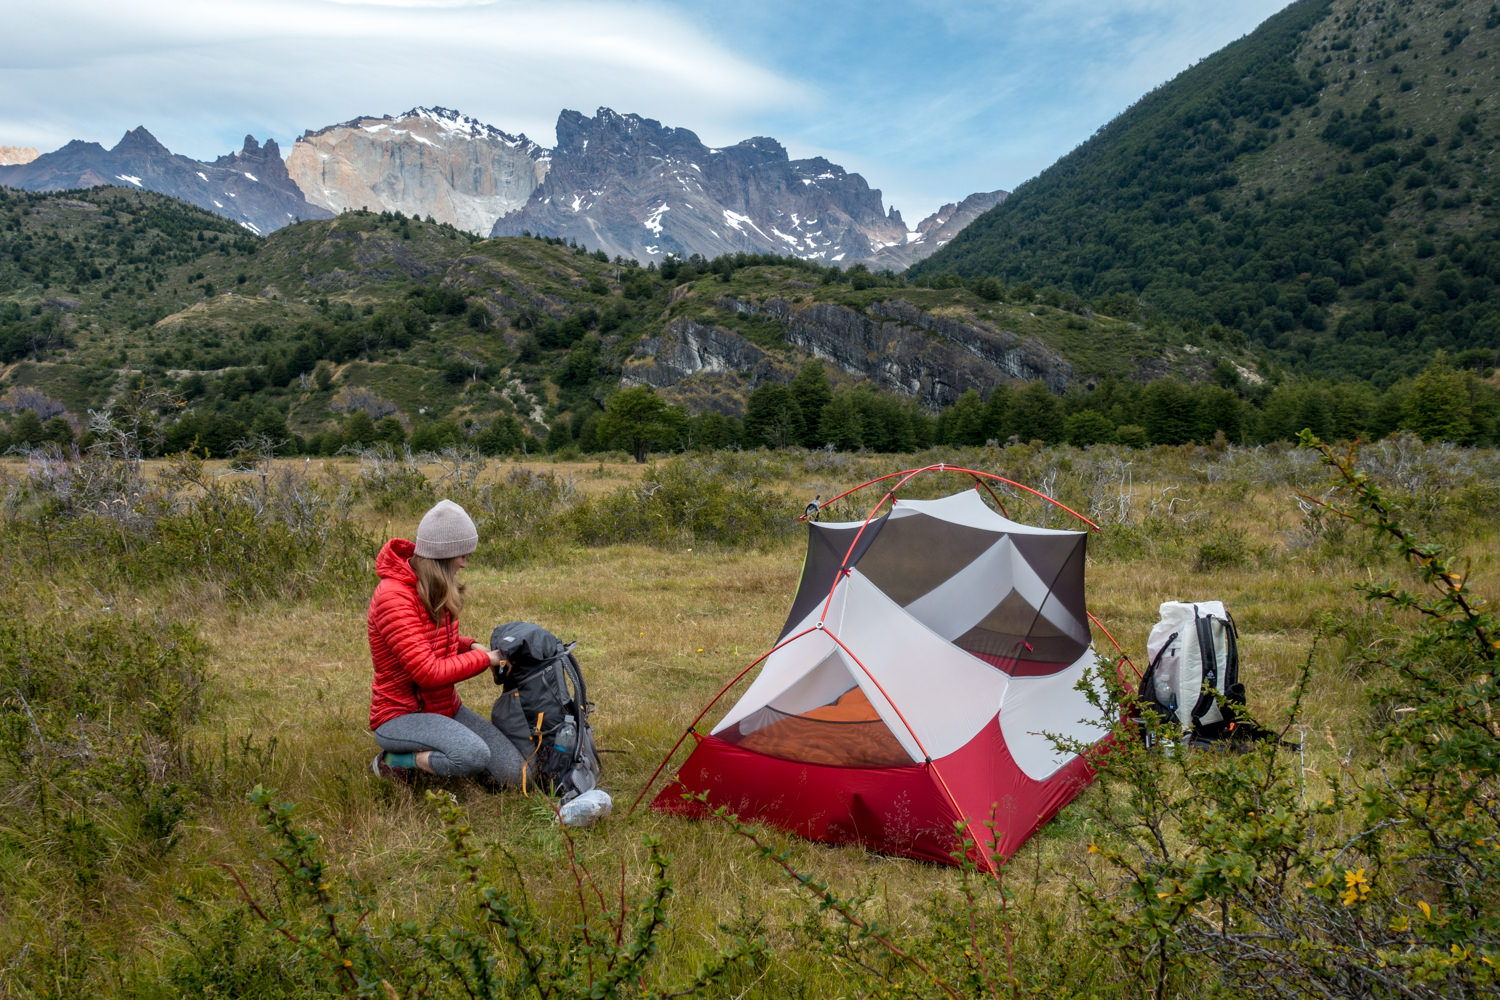
CAMPING
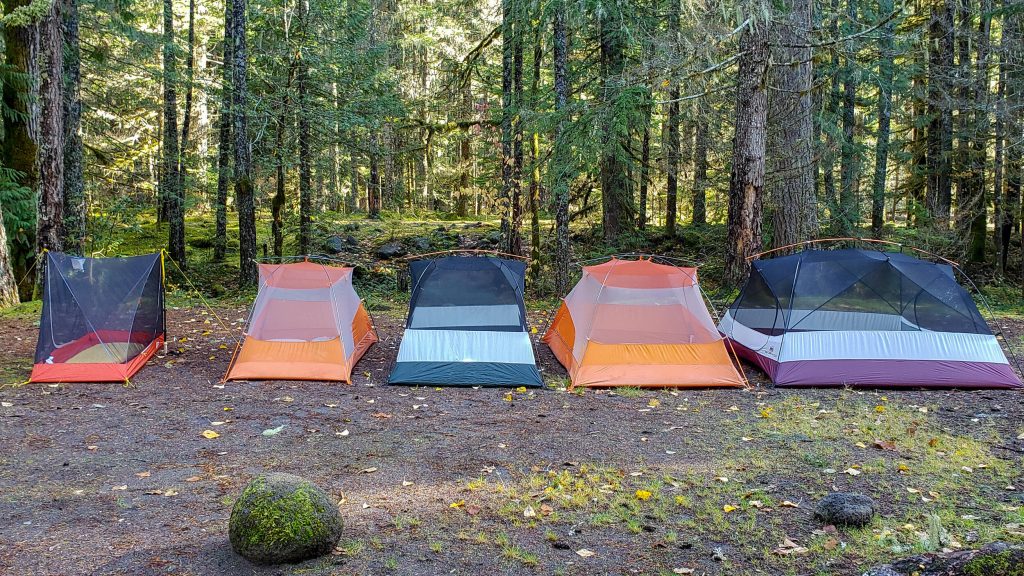
At most sites, you’ll set your tent up in a designated camping area, usually a field or a platform. If there’s also a refugio at the campsite, campers have access to the restaurant, bar, bathroom, showers (if available), and small store – which is awesome! There are designated cooking shelters at every campsite, which you’ll be required to cook in. There will always be a bathroom, but the style ranges from a simple outhouse style with no showers (Paso and Italiano) to flush toilets and hot showers (almost everywhere else).
- Regular Campsite: At many of the campsites along the way you’ll just be pitching your own tent in a designated camping field.
- Platform: You’ll be given an elevated wooden platform. You’ll use your own gear to set up camp. Full board consisting of three meals may or may not be included in the price. At Camp Chileno, this is the only option for camping.
- Supported Camping: For an additional cost and with a pre-arranged reservation, you’re able to rent an installed tent, mattress, and sleeping bag at certain campsites. This can be a good option for those who want to camp, but don’t want to carry the weight of a full backpacking setup. This may or may not also have full board included.
W Trek Itinerary
By far the most popular trek in the park, most people complete the W hike in 3-5 days. You can complete the W trek in either direction, either starting at Paine Grande/Glacier Grey or at the Torres. We recommend starting at Paine Grande and saving the best for last, but that is merely our opinion. Below is the itinerary for that route.

DAY 1: PUERTO NATALES TO PAINE GRANDE (DAY HIKE TO GLACIER GREY)
- Distance: 22 km/13.5 miles roundtrip
- Time: 6-8 hours
Your day will start early today and be a mix of travel and hiking. You’ll start by taking the 7:00 am bus from Puerto Natales to the Laguna Armaga bus stop. Here everybody will get off the bus and pay their entrance fees. At this time, you’ll get back on the bus and head to the Pudeto stop. From here, you’ll take the Catamaran across Lago Pehoe to Refugio Paine Grande. Reservations are not taken in advance. You need to organize your crossing directly at Pudeto. The journey takes about 20 minutes. Current price for the cost is $40 USD per person one way. If all goes as planned you should be to Refugio Paine Grande by noon that same day.
After you disembark from the catamaran, you’ll drop the majority of your gear at Paine Grande and pack a day pack for your hike up to breathtaking Glacier Grey. It will take roughly 6-8 hours roundtrip to head to Glacier Grey and make it back to Paine Grande for the night.
If you want to go at a more leisurely pace, you can also add an additional night to your itinerary and stay at GlaGrey on the first night of your trip.
DAY 2: PAINE GRANDE TO ITALIANO (AND OUT & BACK IN VALLE FRANCES)
- Distance: 7 km/4.5 miles to Italiano where you’ll set up camp. Then 11.5km/7 miles from Italiano up to Mirador Britanico and back.
- Time: 7-8 hours
You’ll start the day with a relatively easy and short hike to Camp Italiano, where you can set up your camp and prepare a day pack for exploring the Valle de Frances. Because this hike is an out and back, you can hike as far as you want in the valley, though we recommend going all the way to Britanico- the views are unreal!
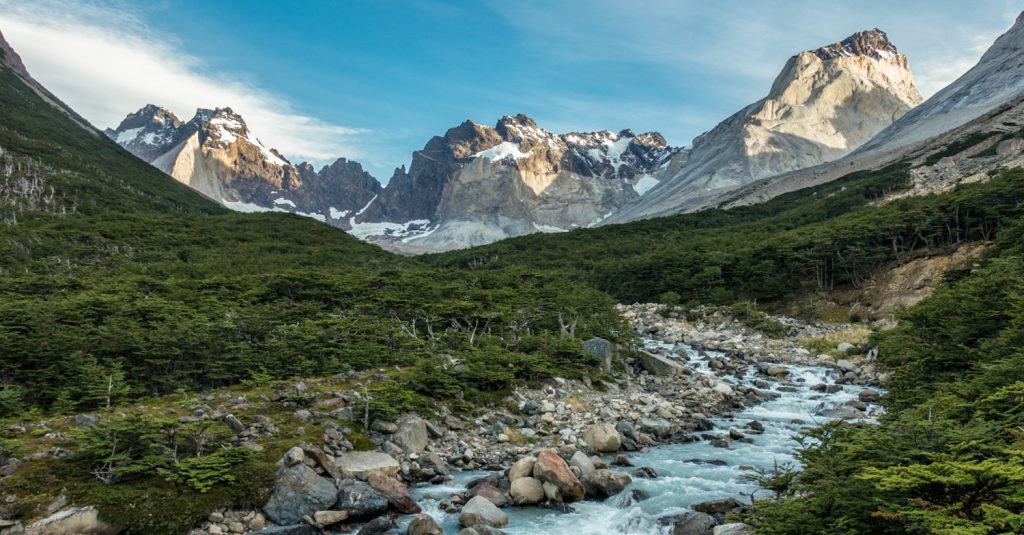
You’ll follow the Rio del Frances as you head up the valley with dramatic views of Paine Grande and it’s creaking hanging glacier along the way. There’s a beautiful mirador about an hour into the hike where many people will be gathered. If you have the time and energy, we recommend pushing on to the Britanico Mirador. The trail levels out a bit after the first mirador as you head deeper into the valley. You’ll be rewarded greatly as you arrive at Mirador Britanico.
DAY 3: ITALIANO TO CHILENO
- Distance: 19 km/12 miles
- Time: 6-8 hours
Most of your hiking today will be hugging the shoreline of beautiful Lago Nordenskjold with breathtaking views of the Cuernos del Paine on your left. You’ll follow the straightforward and relatively flat trail until the trail splits. If you’re staying at Chileno, you’ll follow the trail to the left. If you are unable to get reservations at Chileno, you’ll most likely be camping at Central/Las Torres and will take the trail to the right. The trail to Chileno begins to climb almost immediately as it makes its way up the valley. After about an hour or so you’ll meet up with the main trail to the Torres and finish your hike to Chileno.
DAY 4: CHILENO TO MIRADOR TORRES AND BACK TO CENTRAL
- Distance: 12 km/8 miles
- Time: 4-6 hours
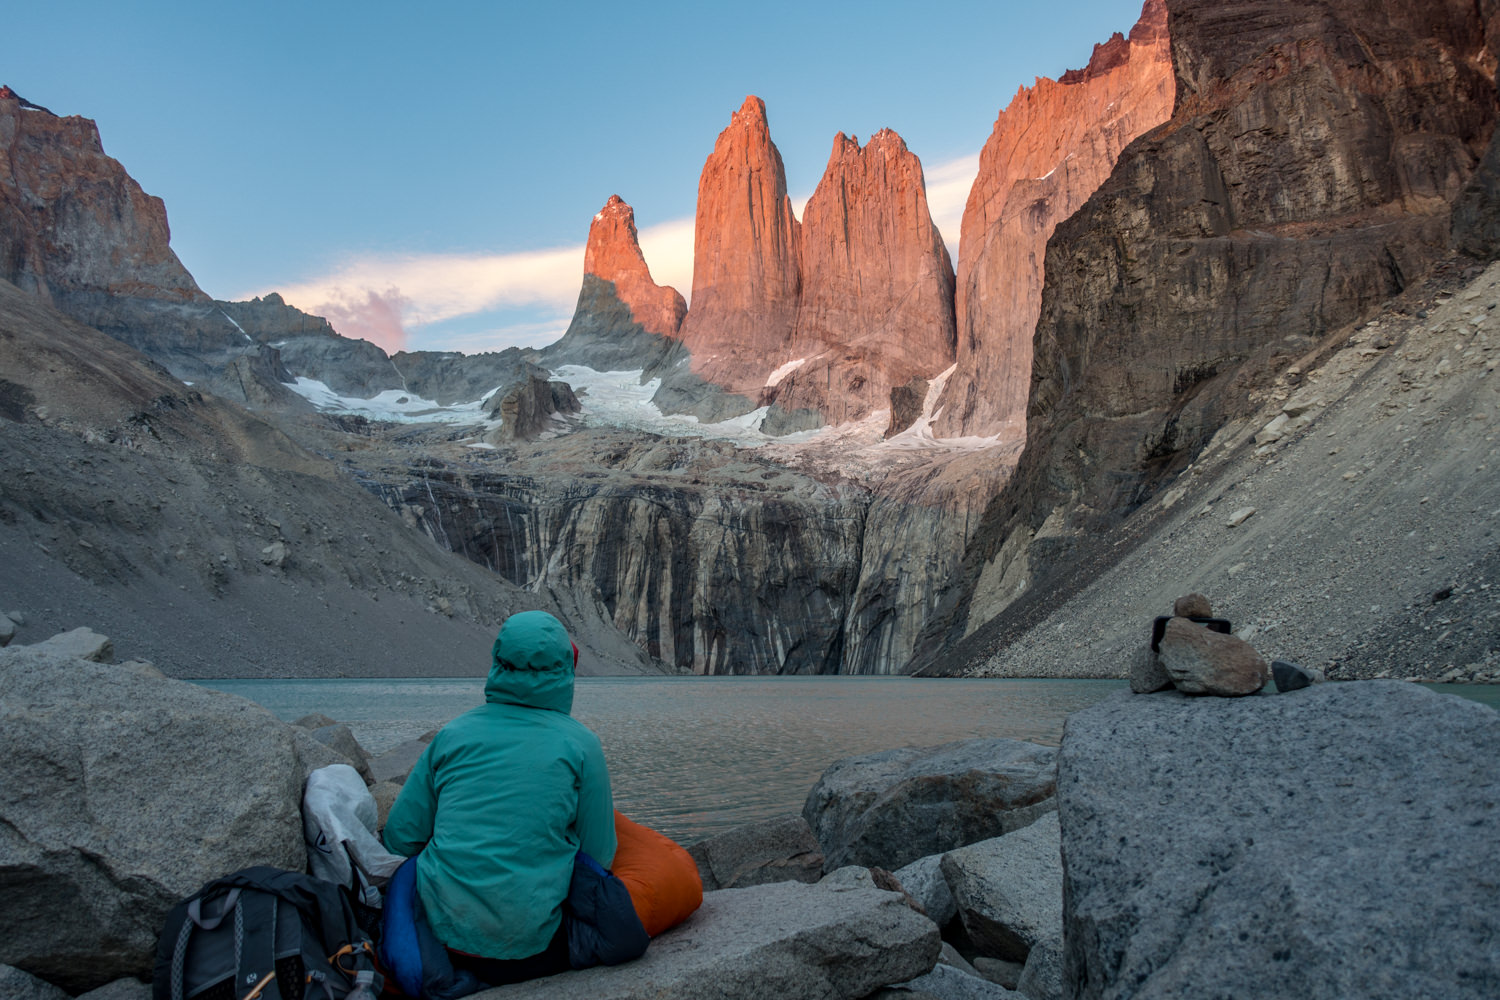
This is the day! You’ll set your alarm for an ungodly hour (4 am for us) and grab your breakfast in the Chileno refugio before beginning your headlamp climb up to the Torres for sunrise. You’ll hike for about an hour on forested trail before you hit the boulder field scramble, which will take another hour. You may have stripped all your layers on the hike up, but once you reach the Torres you’ll want to put them all back on and crawl into your sleeping bag to prepare for the sunrise show (if you’re lucky!) When you’ve taken all the photos you can muster, you’ll turn around and head back to Chileno, pack up your gear, maybe have a celebratory beer, and then head down to Central to finish your W Trek.
Because you started your hike so early today, you should have no problem catching a bus back to Puerto Natales that afternoon.
O Trek Itinerary
We completed the O Trek in 6 nights/7 days and felt that the pace was good for us. We hike with our own lightweight backpacking gear and generally hike at a faster than average pace. That said, many people who want to take it at a slower pace will take up to 9 days to complete the circuit.
You can only hike the Circuit in a counterclockwise direction. You have two starting options: Hotel Las Torres or Paine Grande.
- Beginning at Hotel Las Torres: You’ll get off the bus at Laguna Amarga, pay your park fee, watch a video, and then take the shuttle (3,000 Chileno Pesos each way) to Central, where you’ll begin your trek.
- Beginning at Paine Grande: You’ll get off the bus at Laguna Amarga, pay your park fee, watch a video, and get back on the bus to head to the next stop at Pudeto. From Pudeto, you’ll take your prearranged catamaran to Paine Grande, where you’ll begin your O Trek in the counterclockwise direction.
Below is our 7 day itinerary starting at Hotel Las Torres with distances and estimated times. We found most estimated times on maps and in guidebooks to be conservative. Consider your own hiking style and speed when making a plan.
DAY 1: HOTEL LAS TORRES TO SERON
- Distance: 13 km/8 miles
- Time: 4- 5 hours
This day is a relatively easy and moderate day of hiking through forests. Camp Seron has a field to pitch your tent, as well as some installed tents with rented gear. They have a small restaurant and bar, hot showers, shared bathrooms, and a cooking shelter. You’ll want to bring some bug spray as mosquitos can be quite fierce at this camp.
DAY 2: SERON TO DICKSON
- Distance: 19 km/12 miles
- Time: 5-6 hours
Your second day has several small accents but is generally a moderate day of hiking through some beautiful landscapes. You’ll skirt the shores of beautiful Lago Paine and get your first views of the Cordillera Paine. Halfway through your day you’ll stop at the Camp Coiron Ranger Station where you’ll sign in and show proof of all your reservations. You’ll eventually hit Camp Dickson, which is one of the most beautiful campsites on the trek, in our opinion. Grab a beer and make sure to head down to the river for some solitude and amazing views. Heads up: mosquitos are relentless at this camp.
DAY 3: DICKSON TO PASO
- Distance: 19 km/12 miles
- Time: 7- 9 hours
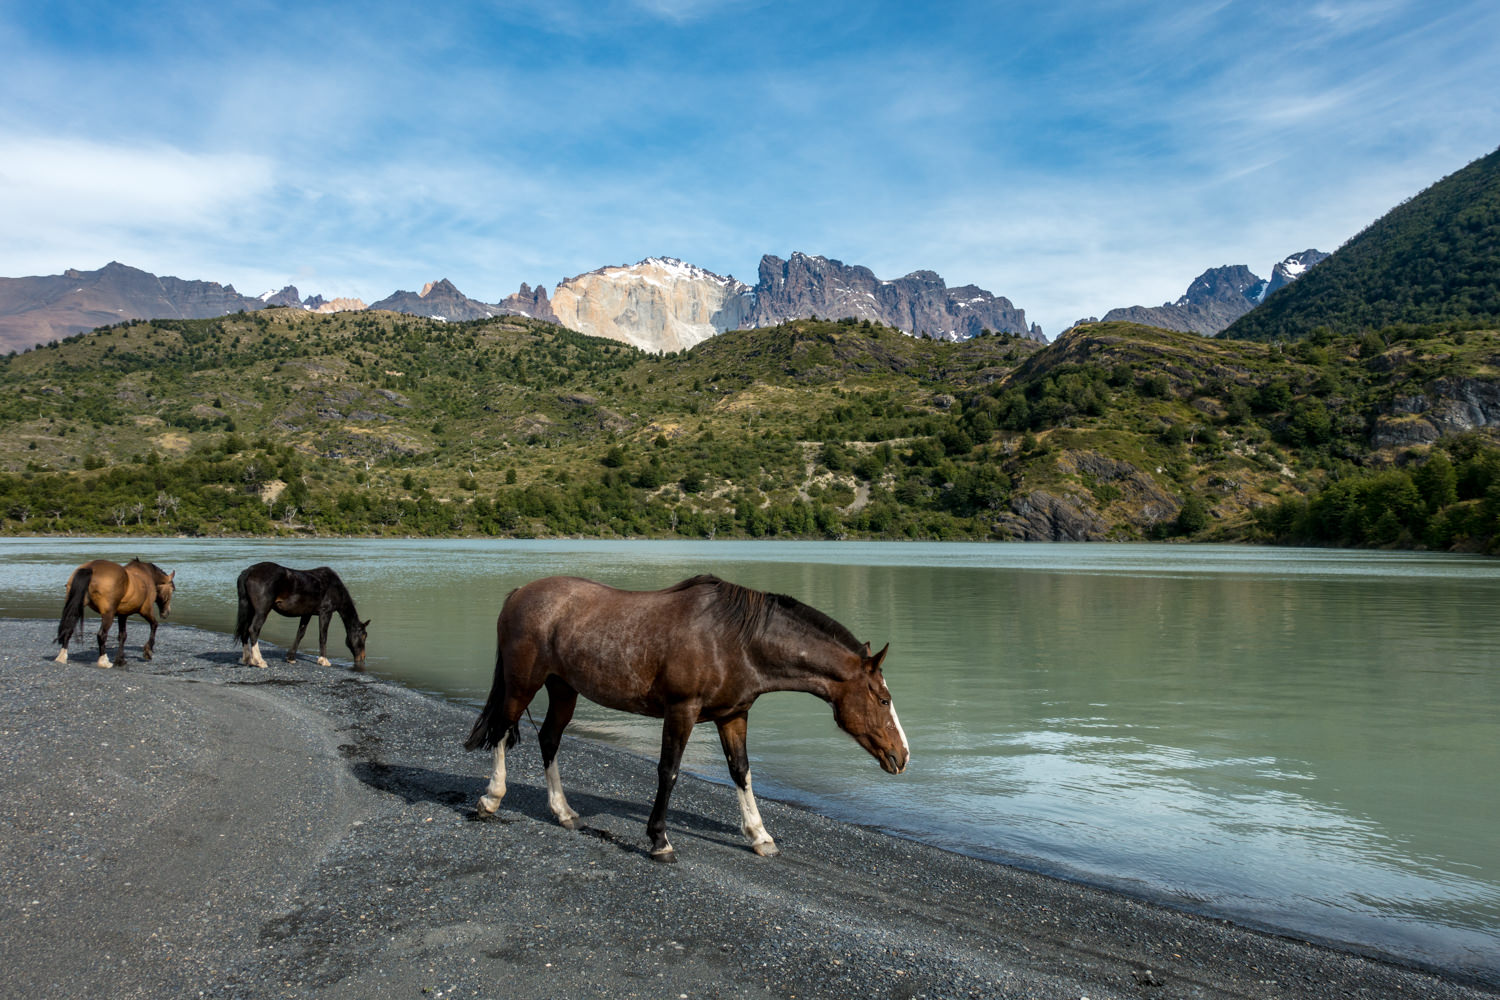
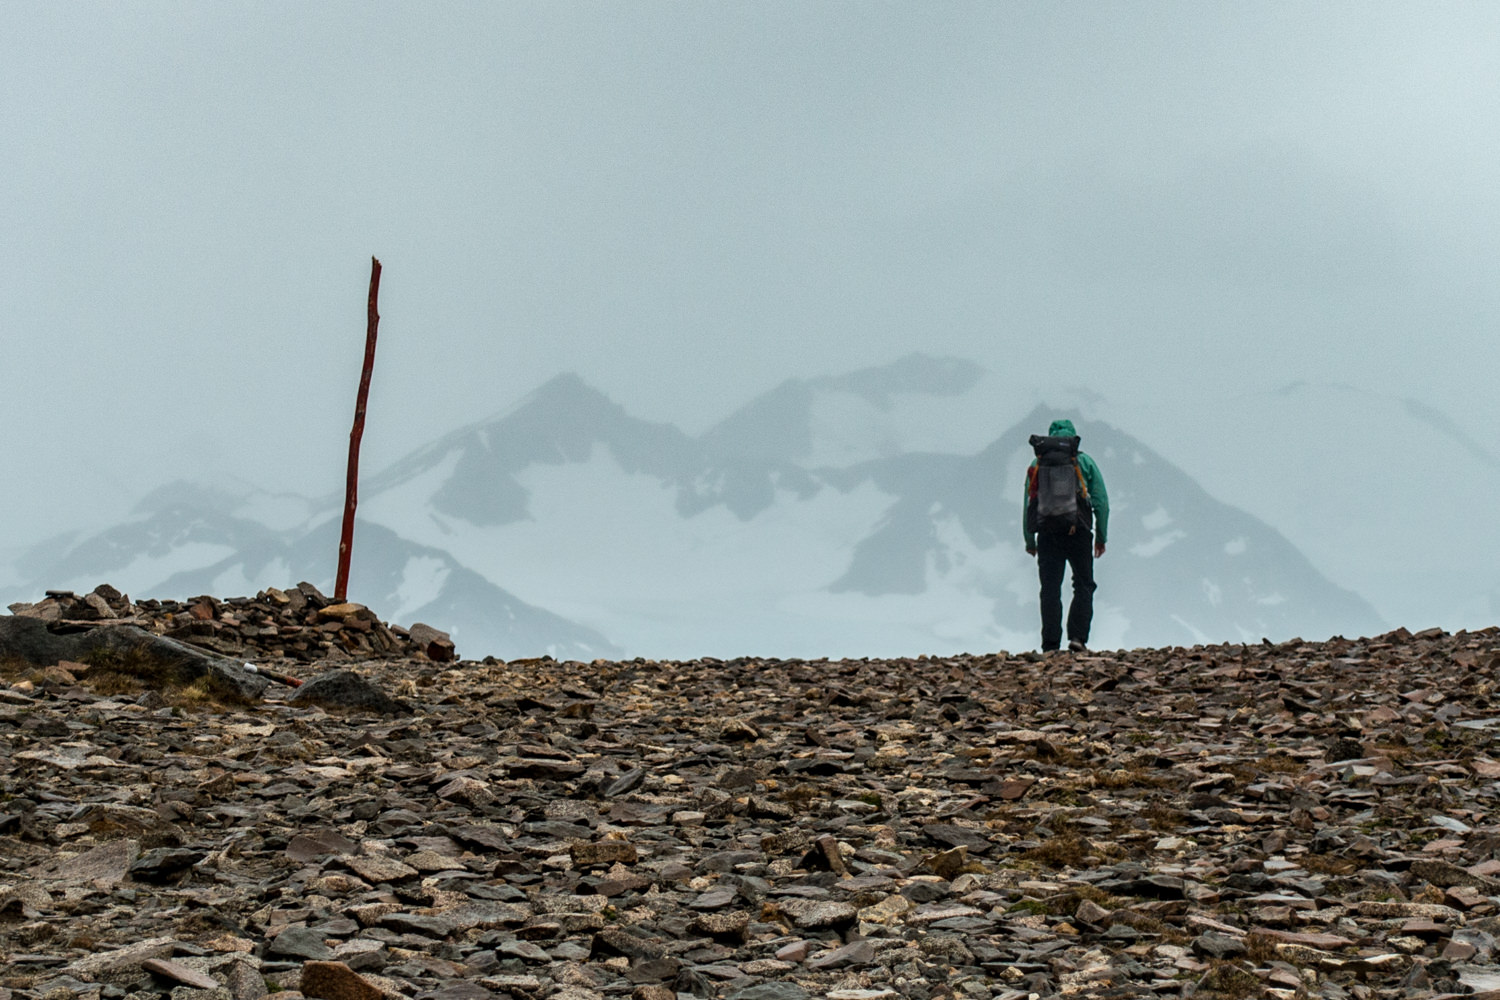
We started this day before sunrise as we knew it was going to be a long day. About an hour into the hike we reached a beautiful mirador right at sunrise, which was really incredible. It’s a 2-3 hour hike to Camp Los Perros, where you’ll check in with the rangers and receive any information you may need about Paso John Gardner. From Los Perros you’ll begin a steep ascent through forest and eventually a boulder field as you make your way up and over the pass. Make sure to follow the orange pole markers which are set up along the way. It should take between 4-6 hours from Los Perros to Paso. The descent from Paso John Gardner is long, steep, and knee-busting, but hiking next to the breathtaking Glacier Grey along the way makes the descent tolerable.
Many people break this day into two hiking days with a night at Camp Los Perros, which is the last camp before you head over the John Gardner Pass. We decided to do the 12 km is one long day, which was totally doable if you are in decent hiking shape and the weather over the pass cooperates.
DAY 4: PASO TO PAINE GRANDE
- Distance: 18 km/11 miles
- Time: 5-7 hours
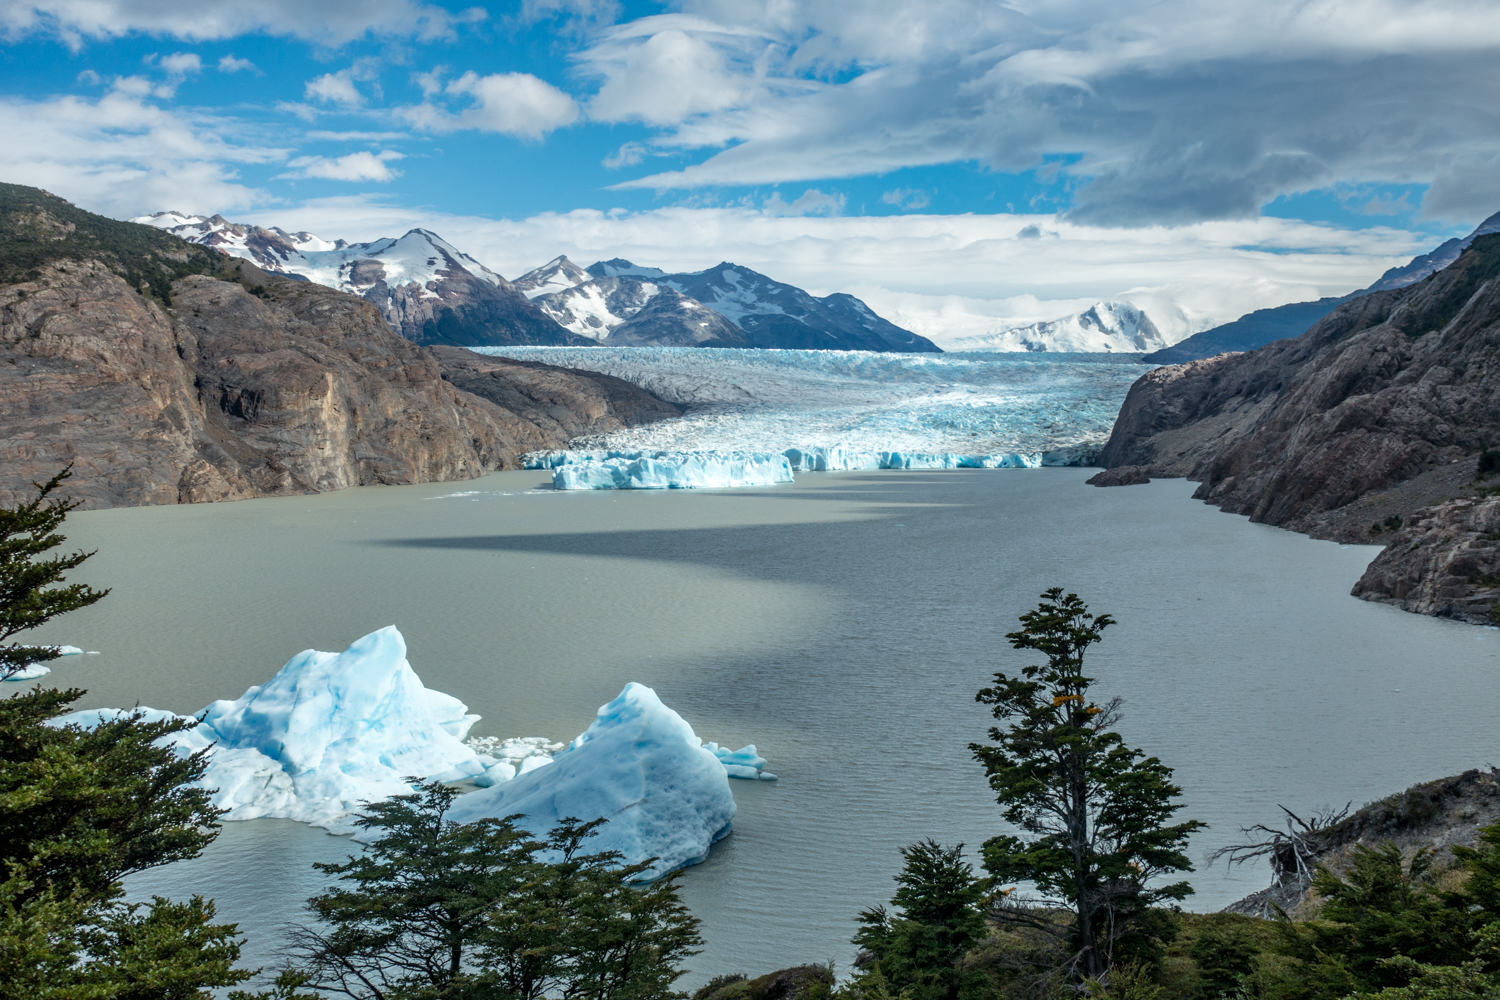
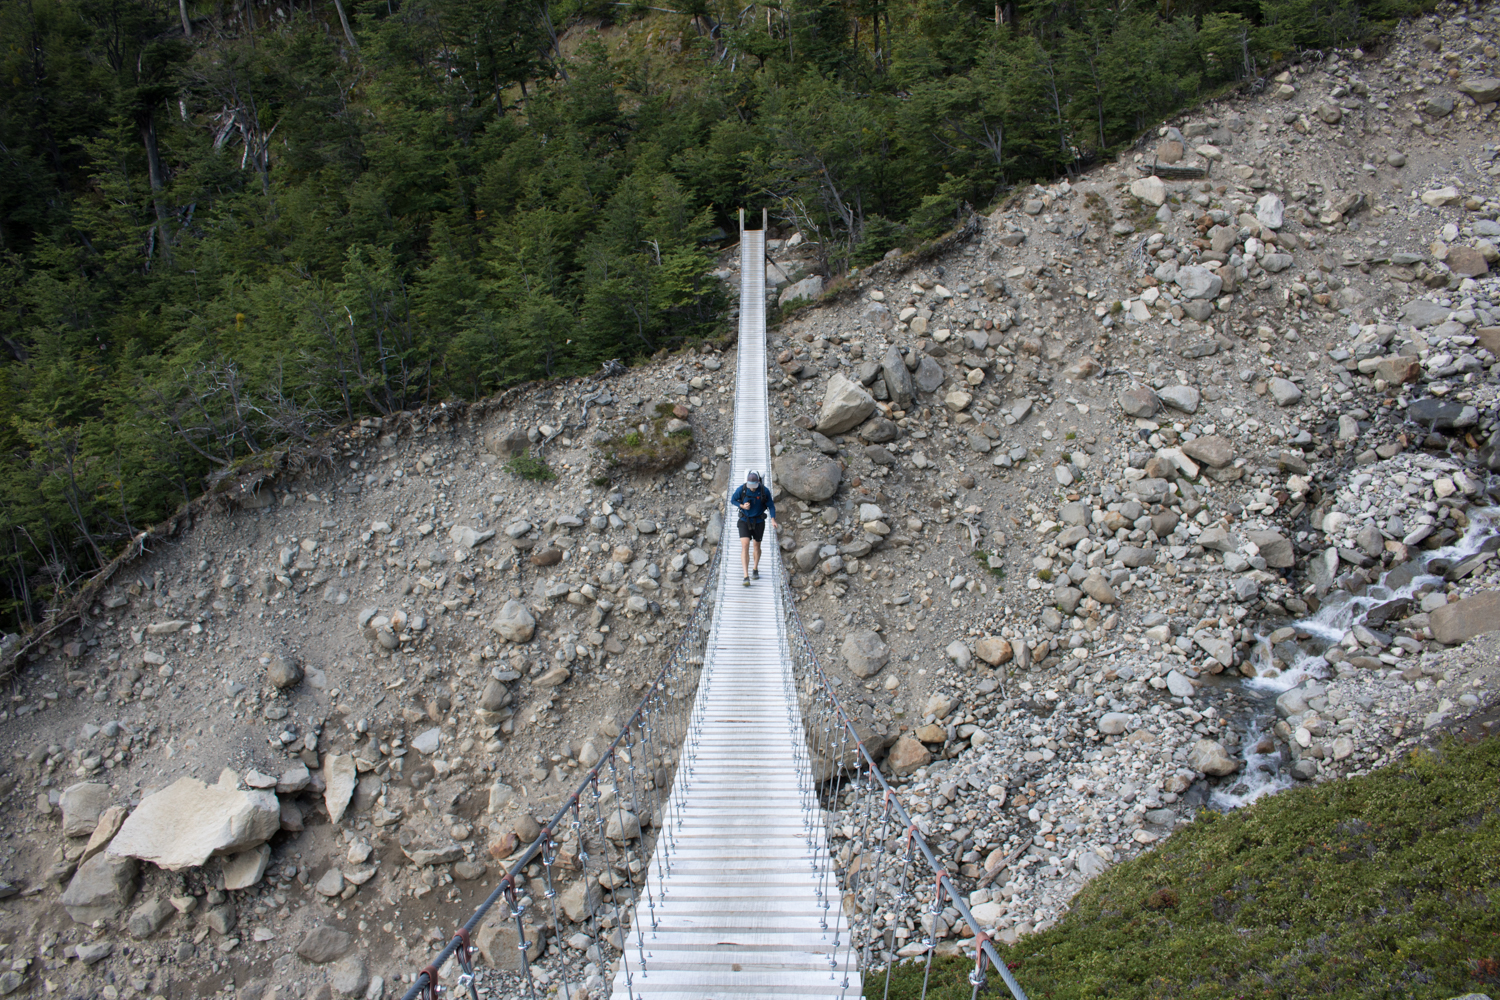
This day begins with some undulating ups and downs as the trail hugs the mountainside. You’ll be hiking alongside the immense and beautiful Glacier Grey for most of this day. You’ll cross three suspension bridges as you make your way to the Refugio Grey, where you’ll meet up with hikers completing the W Trek. From here on out, the trail will be more crowded and the solitude you experienced on the backside of the O will be a distance memory. That said, you’re also about to experience some of the most stunning scenery Torres del Paine has to offer.
After a short and easy side trip to the Mirador at Glacier Gray, you’ll continue on the trail to Paine Grande. There’s a slow and steady ascent to a beautiful and very windy mirador, before you begin your descent to Paine Grande and catch your first glimpse of beautiful Lago Pehoe.
DAY 5: PAINE GRANDE TO ITALIANO (AND OUT & BACK IN VALLE FRANCES)
- Distance: 7 km/4.5 miles to Italiano where you’ll set up camp. Then 11.5km/7 miles from Italiano up to Mirador Britanico and back.
- Time: 7-8 hours
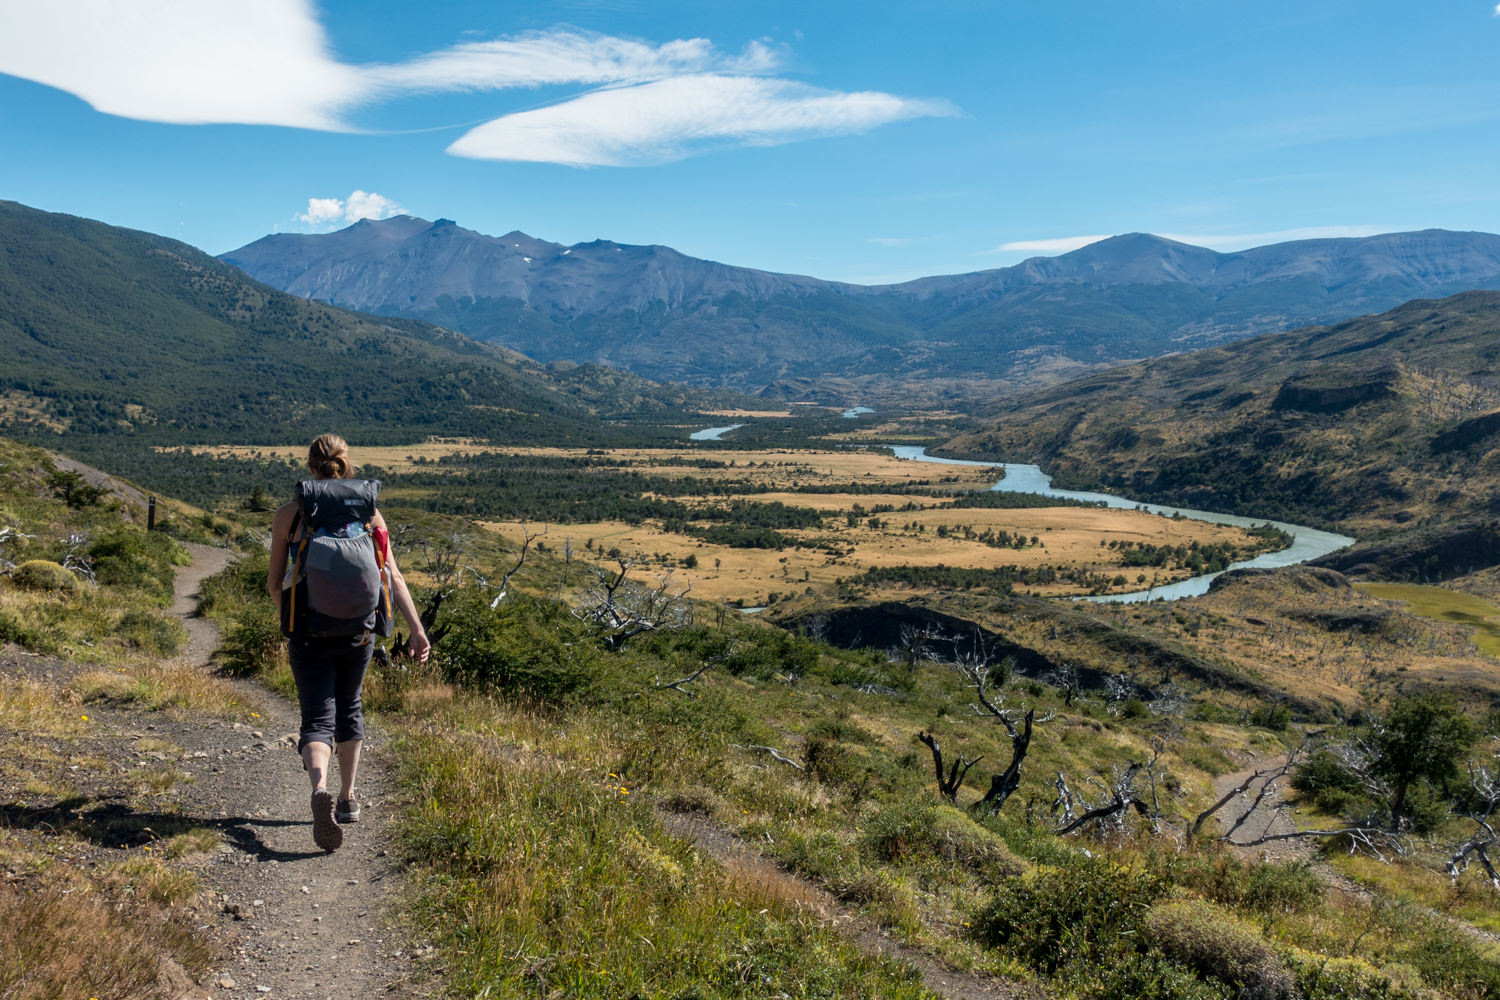
This day was one of our favorite in Torres del Paine. You’ll start the day with a relatively easy and short hike to Camp Italiano, where you can set up your camp and prepare a day pack for exploring the Valle de Frances. Because this hike is an out and back, you can hike as far as you want in the valley, though we recommend going all the way to Britanico- they views are unreal!
You’ll follow the Rio del Frances as you head up the valley with dramatic views of Paine Grande and it’s creaking hanging glacier along the way. There’s a beautiful mirador about an hour into the hike where many people will be gathered. If you have the time and energy, we recommend pushing on to the Britanico Mirador. The trail levels out a bit after the first mirador as you head deeper into the valley. You’ll be rewarded greatly as you arrive at Mirador Britanico.
DAY 6: ITALIANO TO CHILENO
- Distance: 19 km/12 miles
- Time: 6-8 hours
Most of your hiking today will be hugging the shoreline of beautiful Lago Nordenskjold with breathtaking views of the Cuernos del Paine on your left. You’ll follow the straightforward and relatively flat trail until the trail splits. If you’re staying at Chileno, you’ll follow the trail to the left. If you are unable to get reservations at Chileno, you’ll most likely be camping at Central/Las Torres and will take the trail to the right. The trail to Chileno begins to climb almost immediately as it makes its way up the valley. After about an hour or so you’ll meet up with the main trail to the Torres and finish your hike to Chileno.
DAY 7: CHILENO TO MIRADOR TORRES AND BACK TO CENTRAL
- Distance: 12 km/8 miles
- Time: 4-6 hours
This is the day! You’ll set your alarm for an ungodly hour (4 am for us) and grab your breakfast in the Chileno refugio before beginning your headlamp climb up to the Torres for sunrise. You’ll hike for about an hour on forested trail before you hit the boulder field scramble, which will take another hour. You may have stripped all your layers on the hike up, but once you reach the Torres you’ll want to put them all back on and crawl into your sleeping bag to prepare for the sunrise show (if you’re lucky!) When you’ve taken all the photos you can muster, you’ll turn around and head back to Chileno, pack up your gear, maybe have a celebratory beer, and then head down to Central to finish your O Trek.
Q Trek Itinerary
Covering the most trail in Torres del Paine, the Q Trek travels the same route as the O, with an additional day of hiking south of Refugio Paine Grande along Lake Pehoe. Very few hikers cover this additional section so you’ll have some solitude and also earn one of the most spectacular views of the park, the Cordillera Paine rising above Lake Pehoe. You used to be able to begin your hike with the Q portion, leaving from the last bus stop, Administración, and hiking towards Paine Grande.However, now CONAF only allows one-way travel from Paine Grande to Administración, which requires you to end your Torres del Paine hiking there.
Because you have to end your hike with the section from Paine Grande to Administración, we suggest beginning your hike by taking the catamaran to Paine Grande and traveling east around the circuit. That way, you’ll complete the full loop and by the time you return to Paine Grande, you’ll just head south towards Administración to complete the Q hike.
Gear List
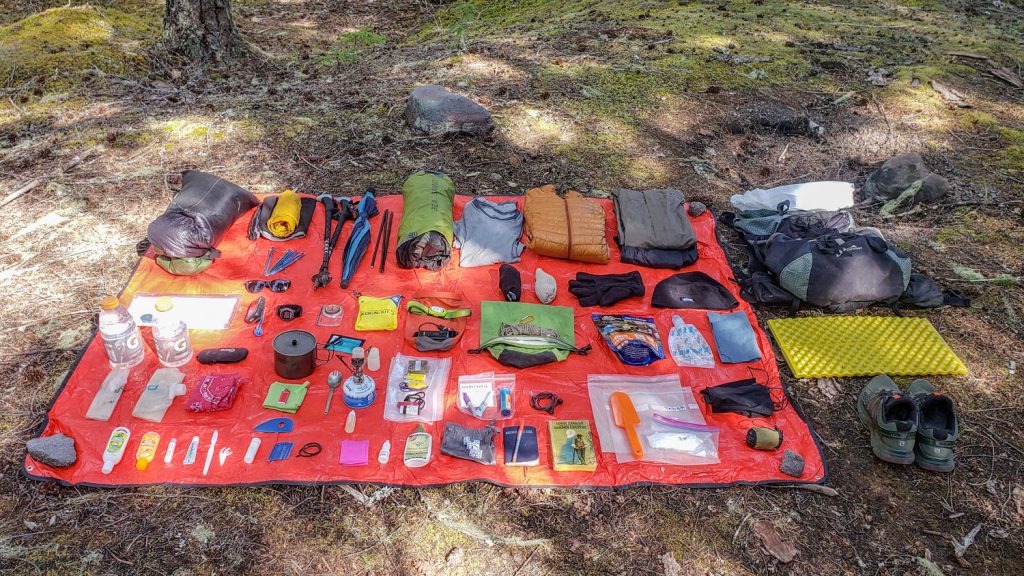
Make sure to check out our Ultimate Backpacking Checklist so you don’t forget something important.
Below you’ll find our current favorite backpacking gear. If you want to see additional options, our curated gear guides are the result of many years of extensive research and hands-on testing by our team of outdoor experts.
BACKPACK
- Best Backpacking Pack Overall: Gregory Paragon 58 – Men’s / Gregory Maven 58 – Women’s
- Best Ultralight Backpacking Backpack: Hyperlite Mountain Gear Unbound 40
- More: Check out our best backpacking backpacks guide for ultralight and trekking options
TENT
- Best Backpacking Tent Overall: Big Agnes Copper Spur HV UL2
- Best Ultralight Tent: Zpacks Duplex
- Best Budget Tent: REI Half Dome 2
- Best Tent Stakes Overall: All One Tech Aluminum Stakes
- More: Check out our best backpacking tents guide for more options
SLEEPING BAG/QUILT
- Best Sleeping Bag Overall: Men’s Feathered Friends Swallow YF 20 / Women’s Feathered Friends Egret YF 20
- Best Quilt Overall: Enlightened Equipment Revelation 20
- More: Check out our best backpacking sleeping bags guide and best backpacking quilts guide for more options
SLEEPING PAD
- Best Sleeping Pad Overall: NEMO Tensor All-Season
- Best Foam Sleeping Pad: NEMO Switchback
- More: Check out our best backpacking sleeping pads guide for ultralight and trekking options
CAMP KITCHEN
- Best Backpacking Stove Overall: MSR PocketRocket 2
- Best Backpacking Cookware Overall: TOAKS Titanium 750ml
- Best Backpacking Coffee Overall: Starbucks VIA
- More: Check out our best backpacking stoves guide and best backpacking cookware guide for ultralight and large group options
WATER & FILTRATION
- Best Water Filter Overall: Sawyer Squeeze
- Best Hydration Bladder Overall: Gregory 3D Hydro
- Best Backpacking Water Bottles: Smartwater Bottles
- More: Check out our best backpacking water filters guide and best backpacking water bottles guide for ultralight and large group options
CLOTHING
- Best Hiking Pants Overall: Men’s Outdoor Research Ferrosi / Women’s The North Face Aphrodite 2.0
- Best Hiking Shorts Overall: Men’s Patagonia Quandary / Women’s Outdoor Research Ferrosi
- Best Women’s Hiking Leggings: Fjallraven Abisko Trekking Tights HD
- Best Rain Jacket Overall: Men’s Patagonia Torrentshell 3L / Women’s Patagonia Torrentshell 3L
- Best Rain Pants: Men’s Patagonia Torrentshell 3L / Women’s Patagonia Torrentshell 3L
- Best Down Jacket Overall: Men’s Patagonia Down Sweater Hoodie / Women’s Patagonia Down Sweater Hoodie
- Best Fleece Jacket Overall: Men’s Patagonia Better Sweater / Women’s Patagonia Better Sweater
- Best Sunshirt Overall: Men’s Outdoor Research Echo / Women’s Outdoor Research Echo
- Best Socks Overall: Men’s Darn Tough Light Hiker Micro Crew / Women’s Darn Tough Light Hiker Micro Crew
- Beste Ultralight Liner Glove: Patagonia Capilene Midweight Liner
- More: Check out our best backpacking apparel lists for more options
FOOTWEAR & TRACTION
- Best Hiking Shoes Overall: Men’s HOKA Speedgoat 6 / Women’s HOKA Speedgoat 6
- Best Hiking Boots Overall: Men’s Salomon X Ultra 5 GTX / Women’s Lowa Renegade Evo GTX
- Best Hiking Sandals Overall: Men’s Chaco Z/1 Classic / Women’s Chaco Z/1 Classic
- Best Camp Shoes Overall: Crocs Classic Clogs
- Best Traction Device for Hiking Overall: Kahtoola MICROspikes
- More: Check out our best backpacking footwear lists for more options
NAVIGATION
- Best GPS Watch Overall: Garmin Instinct 2 Solar
- Best Personal Locator Beacon (PLB): Garmin inReach Mini 2
- More: Check out our article How to Use Your Phone as a GPS Device for Backpacking & Hiking to learn more
FOOD
FIRST-AID & TOOLS
- Best First-Aid Kit Overall: Adventure Medical Kits Ultralight/Watertight .7
- Best Pocket Knife Overall: Kershaw Leek
- Best Multitool Overall: Leatherman Wave+
- Best Headlamp Overall: Black Diamond Spot 400-R
- Best Power Bank Overall: Nitcore NB 10000 Gen 3
- More: Check out our best first-aid kit guide, best pocket knife guide, best multitool guide, best backpacking headlamps guide, and best power banks guide for more options
MISCELLANEOUS
- Best Trekking Poles Overall: Black Diamond Pursuit
- Best Backpacking Chair Overall: REI Flexlite Air
- Best Backpacking Stuff Sack Overall: Hyperlite Mountain Gear Drawstring
- More: Check out our best trekking poles guide, best backpacking chairs guide, and best stuff sacks guide for more options
Maps and Guidebooks
When we began planning our trip to Patagonia, we found most of the resources to be grossly outdated, with the existing guidebooks receiving poor reviews. Moon released a new guidebook in the fall of 2017, which we found helpful, but we used a combination of internet resources, maps, and guidebooks to plan our trip.
- Moon Patagonia – We used this book heavily in the planning phases of our trip. It offers a nice overview of all the regions and towns. Though there is limited detailed information on specific hiking and backpacking trips, we still found it to be a helpful resource.
- Torres del Paine Trekking Map – This waterproof and tear-resistant topographical map includes contour lines, timed trails, shelters, camping and clear information on water sources. Recommended by the National Parks Administration and the National Tourist Service. We used this map everyday on our O Trek.
Water
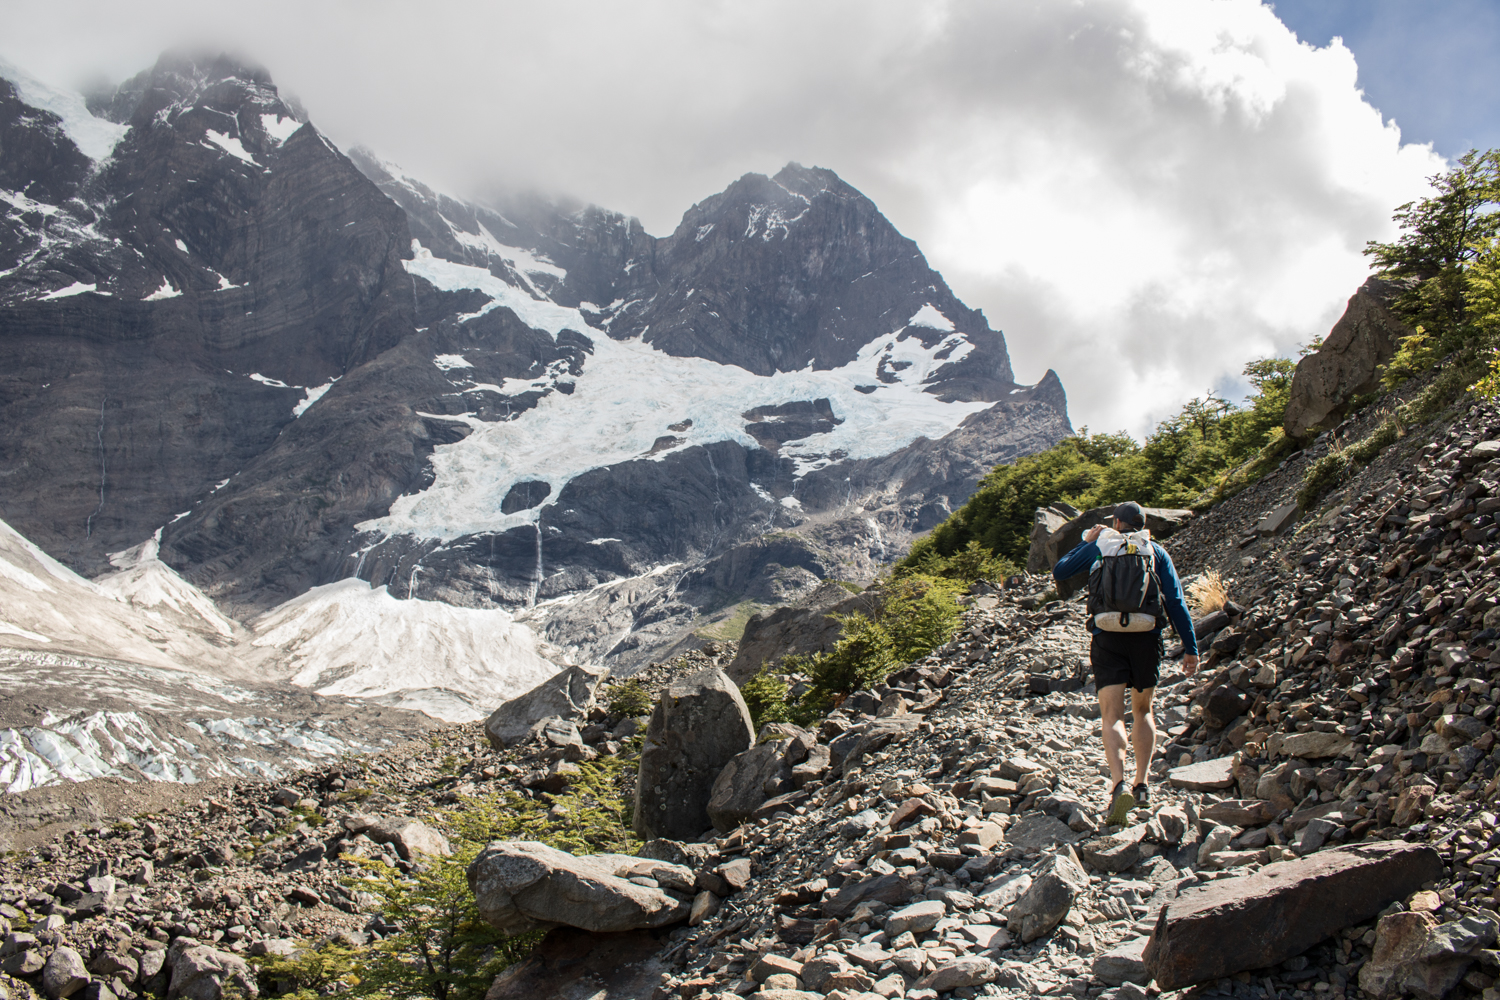
One of the pleasures of hiking in Patagonia is that you can drink water directly from the source on the trail. On the W Trek, you’ll pass a water source every 30-45 minutes, so there’s really no need to carry more than one full water bottle at a time. On the O Trek, you’ll cross water less frequently, but you’ll still cross a source every 45-60 minutes, depending on your pace.
The National Park Service does a really great job at educating visitors on how to use adequate measures to prevent contamination of water sources and keep the water safe for everyone. We still recommend you judge your water source. If there is live stock in the area or if the source runs through a trekking trail, you may be better off waiting for the next source. We brought along Chlorine Dioxide tablets but never used them.
Travel Insurance
We highly recommend purchasing travel insurance if you plan to trek in Patagonia. Most trekking locations in Patagonia are remote, so if something goes wrong, you’re likely to need an emergency evacuation and that can get insanely expensive.
We did a bunch of research on travel insurance companies and ended up choosing World Nomads for our travels. Their rates were reasonable, their coverage met our needs, and communicating with them was easy. We fortunately didn’t need to use our travel insurance, but the peace of mind alone was well worth it.
Leave No Trace, Rules, & Regulations
Dirty toilet paper is the most common form of backcountry litter we found on the trails in Torres del Paine. When you are unable to use bathroom facilities on the trail, it is essential that you know how to properly dispose of your waste and toilet paper. To dispose of human waste the right way, you need to dig a cathole at least 6-8 inches deep before you go, and if you don’t pack a trowel (we currently use this cheap and lightweight snow stake), you won’t be able to dig a hole deep enough. It’s as simple as that. After doing your business, either bury your TP deep in the hole, or pack it out in a ziploc bag.
You love nature. That’s why you’re out there. So educate yourself on Leave No Trace principles and help us keep our wild spaces beautiful for generations to come.
Consider Giving Back
Patagonia, and more specifically, Torres del Paine is one of the last truly wild and remote spaces. At CleverHiker we encourage people to get out and experience nature at it’s finest and that mission comes with a great responsibility. If you were lucky enough to experience the breathtaking beauty of Torres del Paine, we encourage you to give what you can to continued conservation efforts. We all need to be stewards of the natural world to protect our wilderness for generations to come.
We’ve donated to the Torres del Paine Legacy Fund, which works to preserve and restore ecosystems, improve tourist infrastructure by mitigating visitor impacts, promotes community development, and diversifies recreational activities. The best part? 100% of your donation will directly support sustainability actions in Torres del Paine.
