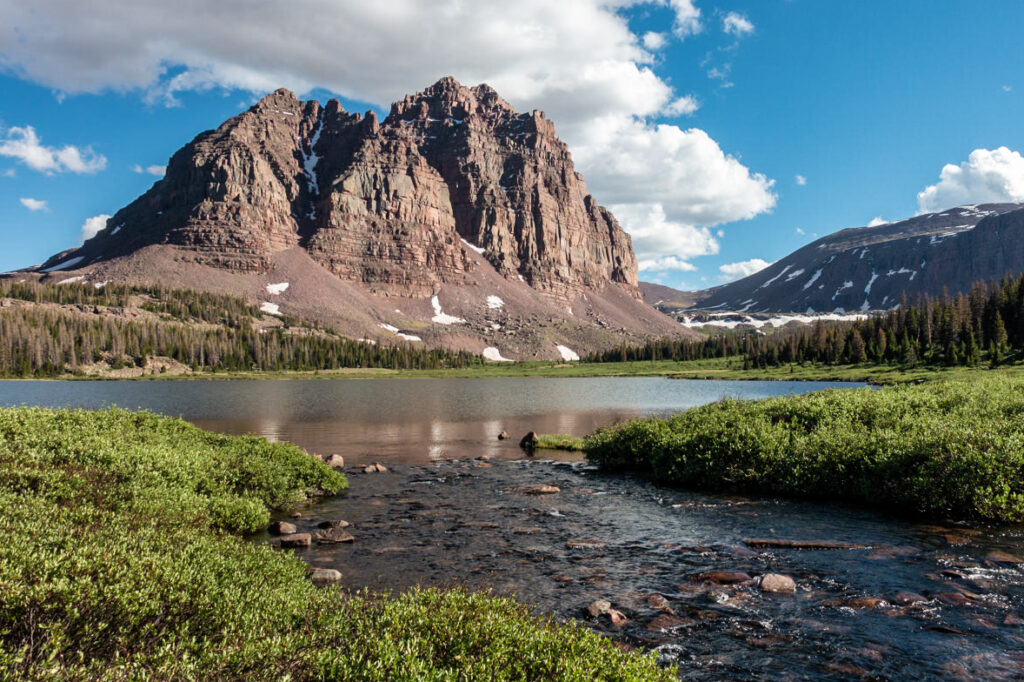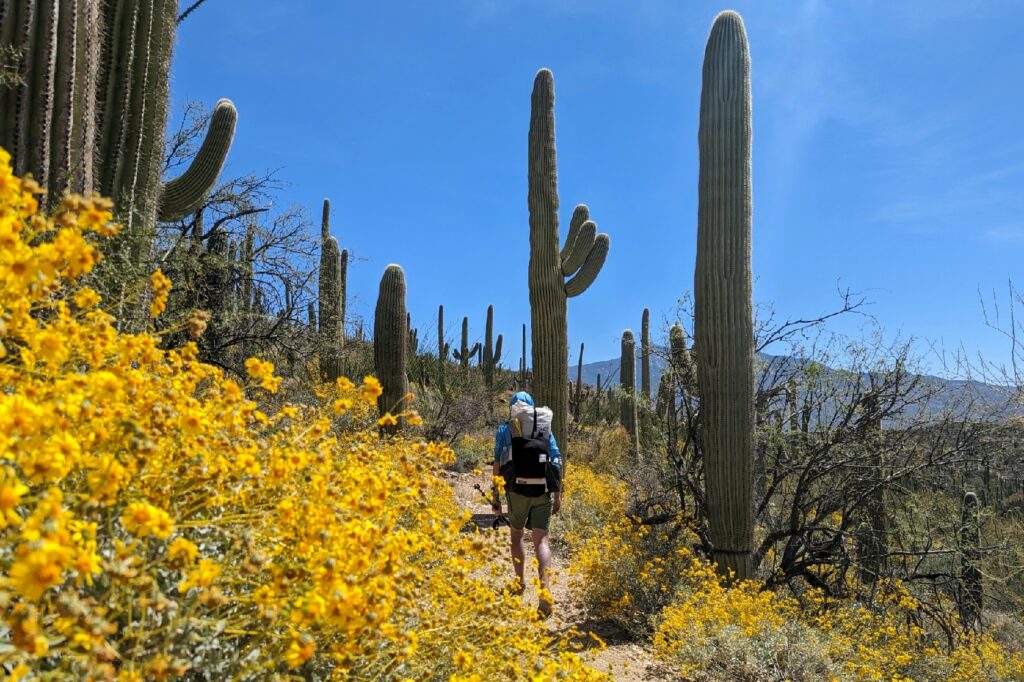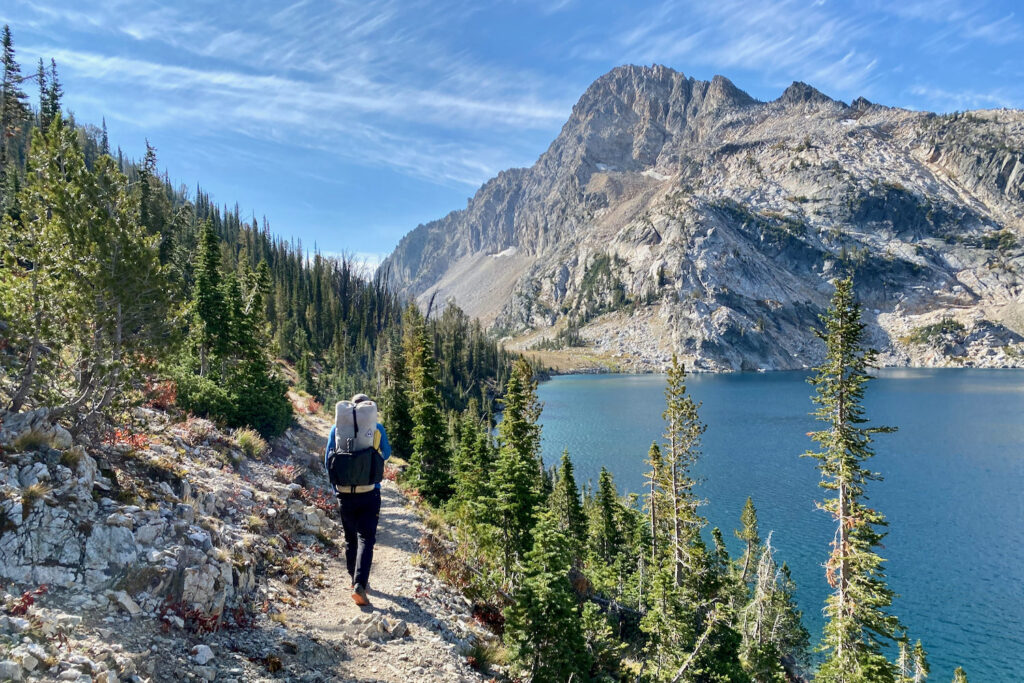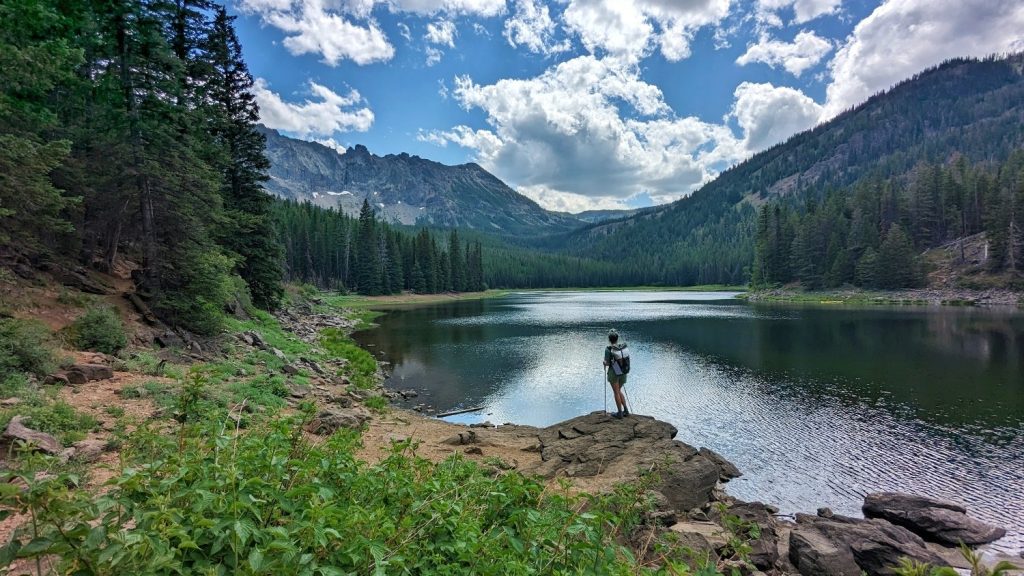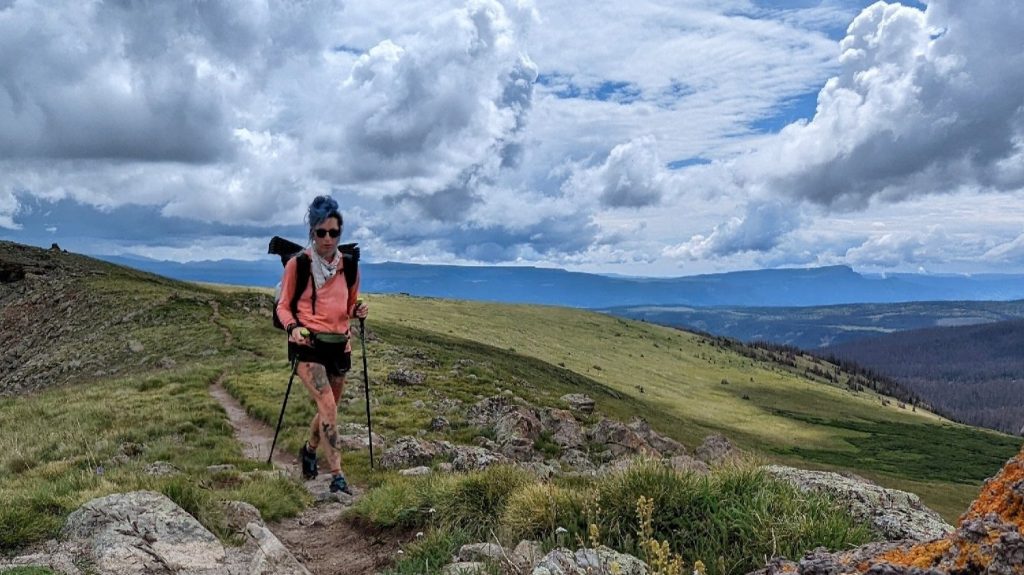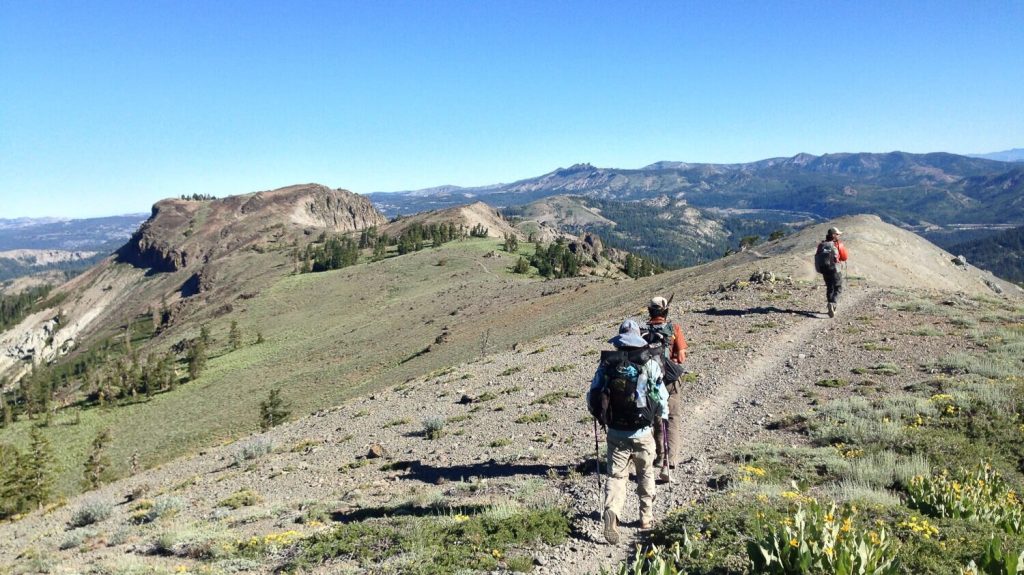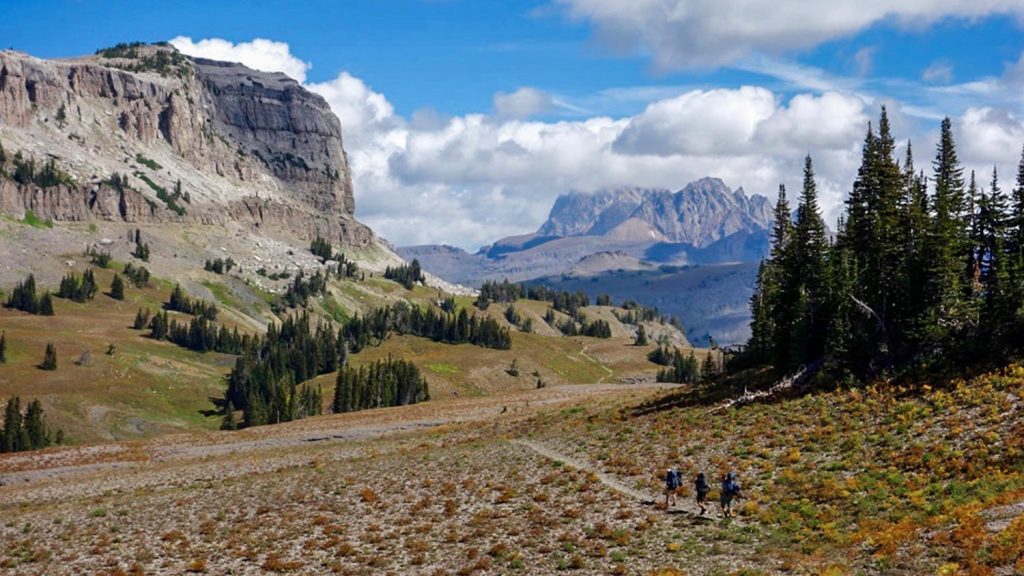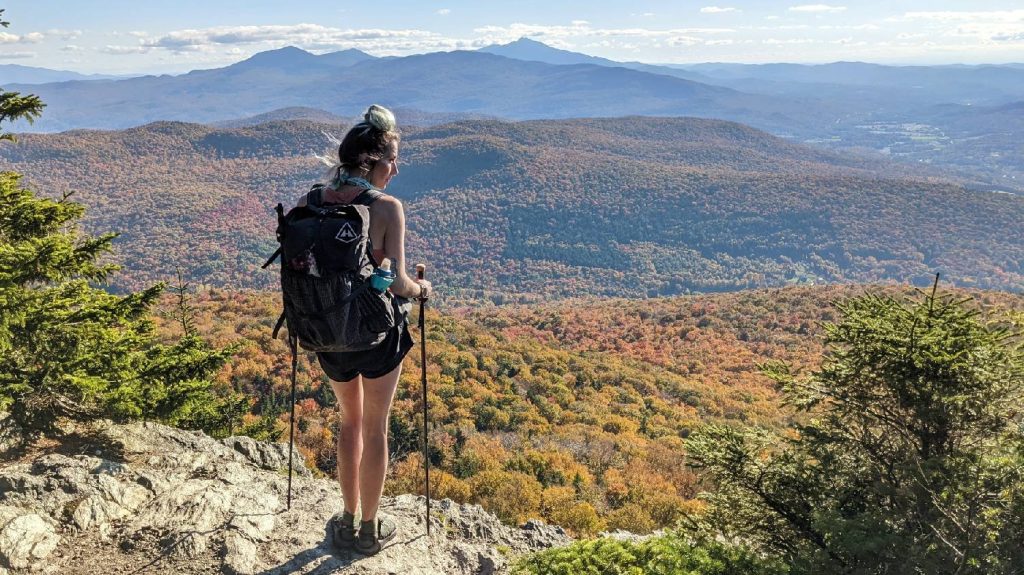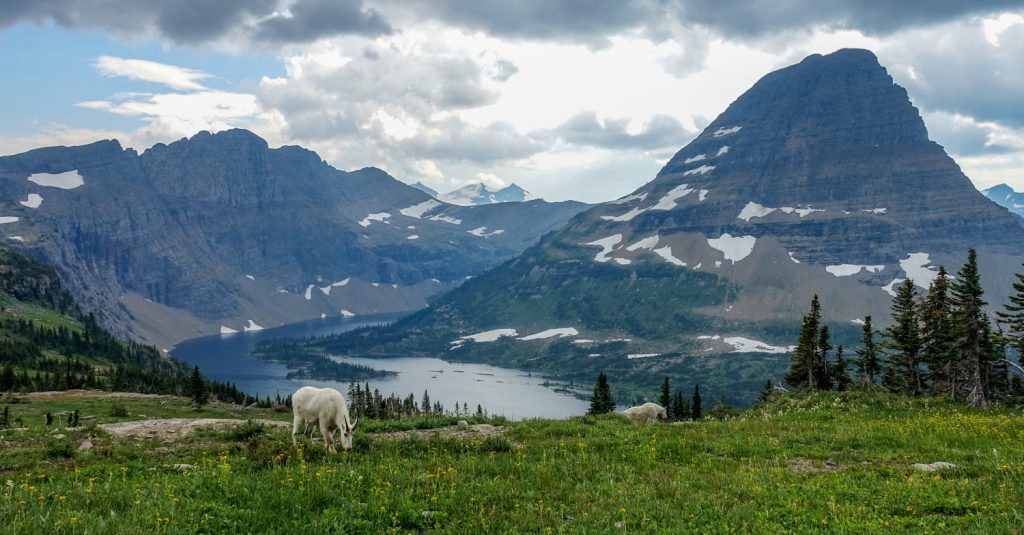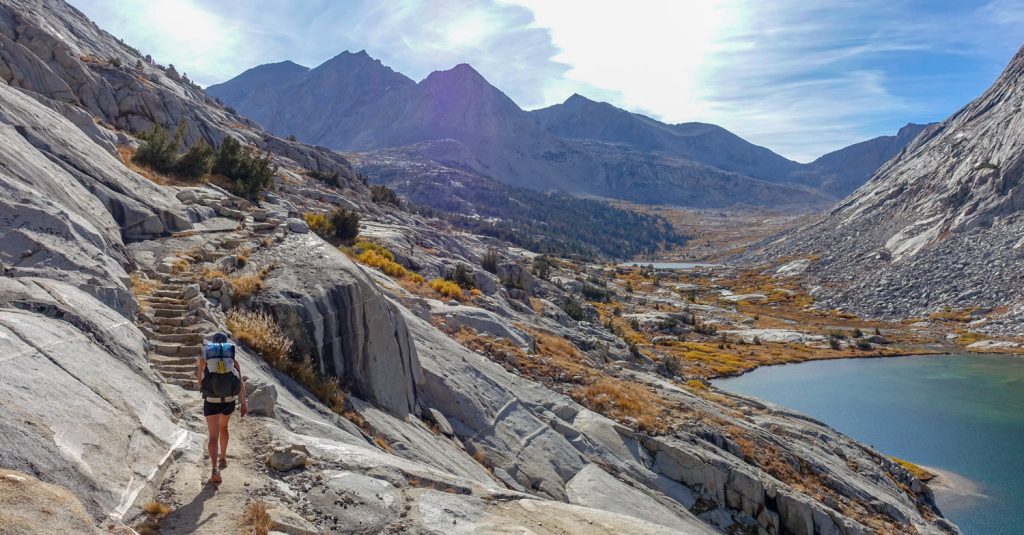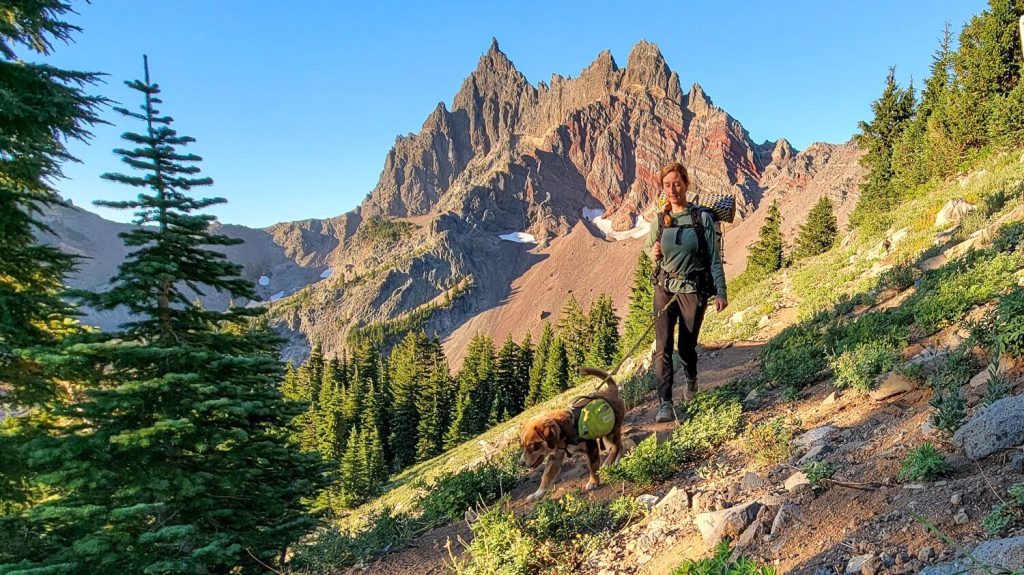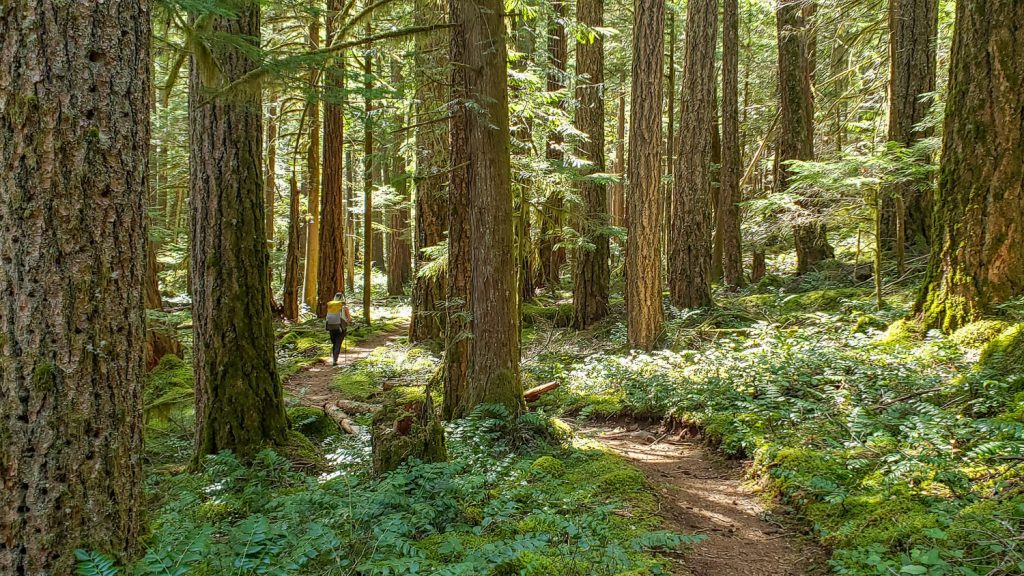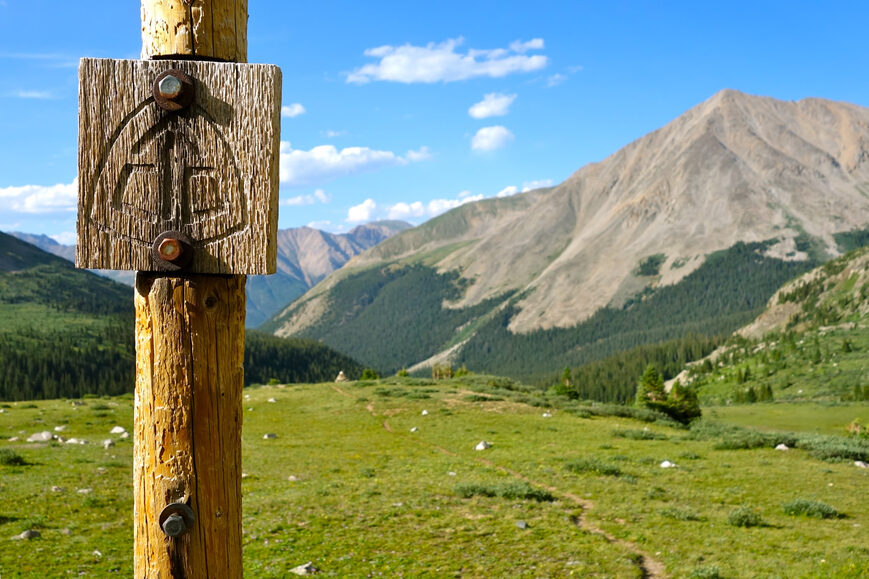
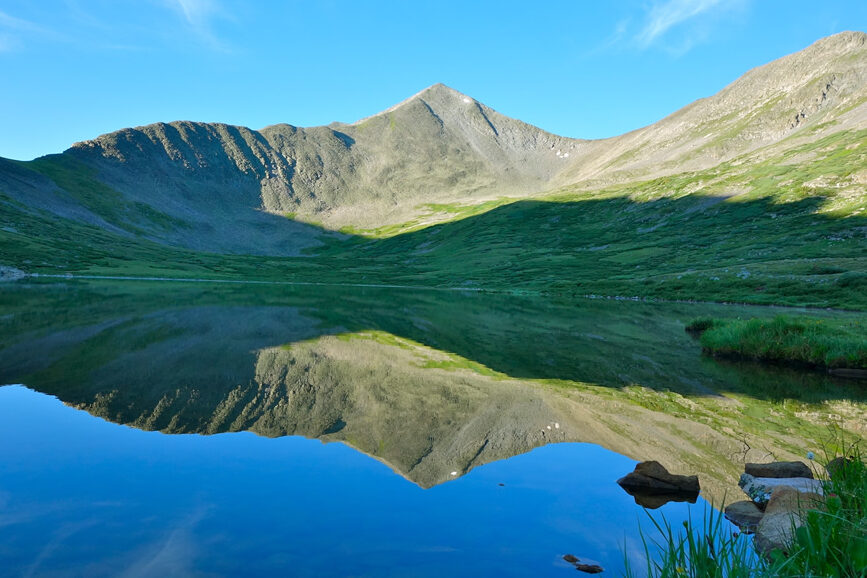
The Collegiate Peaks Loop is a stunning 160-mile loop in central Colorado and provides a perfectly balanced two-week backpacking adventure. The route follows the pristine Colorado Trail and the Continental Divide Trail as they wind through lush forests, meadows, and valleys. With huge sections of trail above treeline, you’ll get a healthy dose of craggy peaks and epic views.
The route combines two circuits through the Rocky Mountains – Collegiate East and Collegiate West, which follows the continental divide at much higher elevations. The Collegiate West is often above treeline, which makes for rugged hiking and incredible views. It is also part of the 3,100-mile-long Continental Divide Trail that stretches from Mexico to Canada. The Collegiate East is part of the traditional Colorado Trail stretching 500 miles from Denver to Durango. The 160-mile Collegiate Peaks backpacking loop is formed by hiking both the Eastern and Western routes. The Colorado Trail Foundation is a great resource for preparing for this trip.
Both sides of this loop are frequented by thru-hikers of the CT and the CDT, which makes logistical planning fairly easy. Many easy access points will allow you to resupply food and fuel. See our backpacking guides for more information on the Colorado Trail and the Continental Divide Trail.
Quick Facts
- Distance: 160 miles
- Days Needed: 10-18 days
- Type of trail: Loop
- Elevation gain: Approx 35,000 ft.
- Best time to travel: Mid-June – mid-September
- Permits: None required, voluntary at trailheads
- Difficulty: Challenging
Highlights
- Amazing panoramic views from the Continental Divide
- Access to resupply in the great mountain towns of Buena Vista and Salida
- Diverse landscapes and elevation zones
- Physically demanding and rewarding
- Access to several 14,000-ft peaks via detours
- Opportunity to visit local hot springs
- Well-marked and easy to navigate trail system
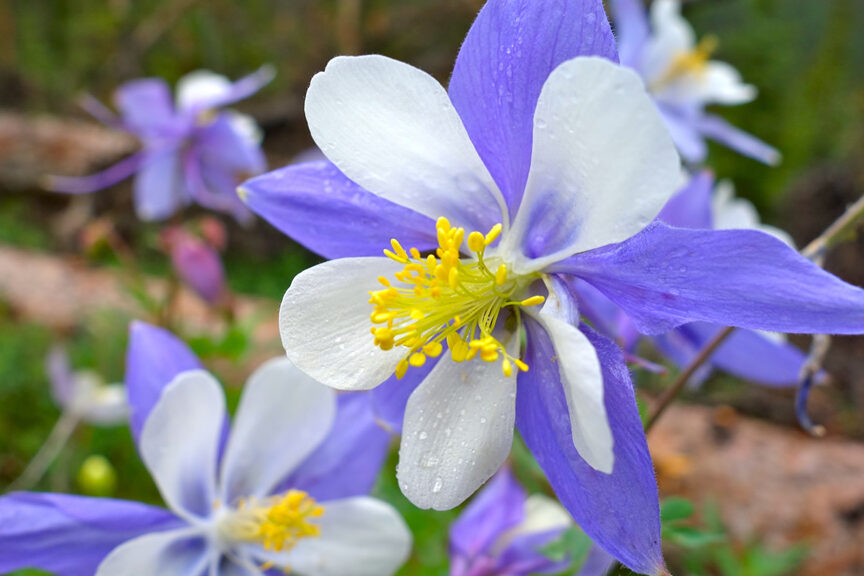
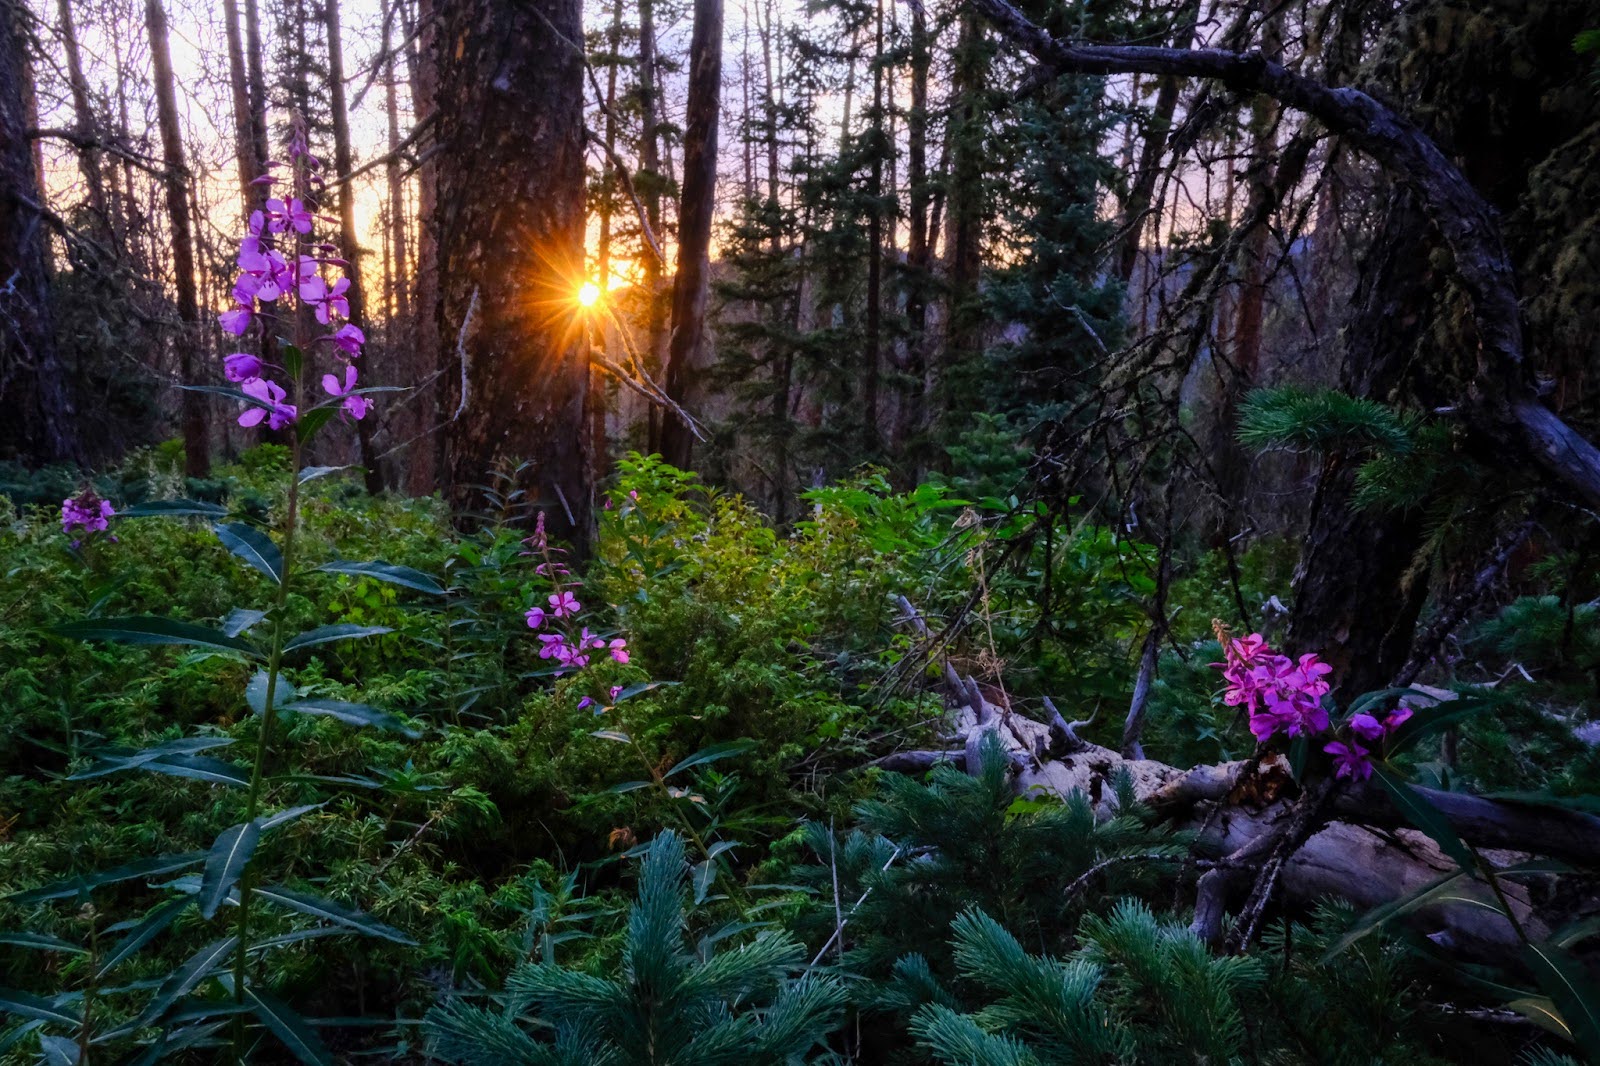
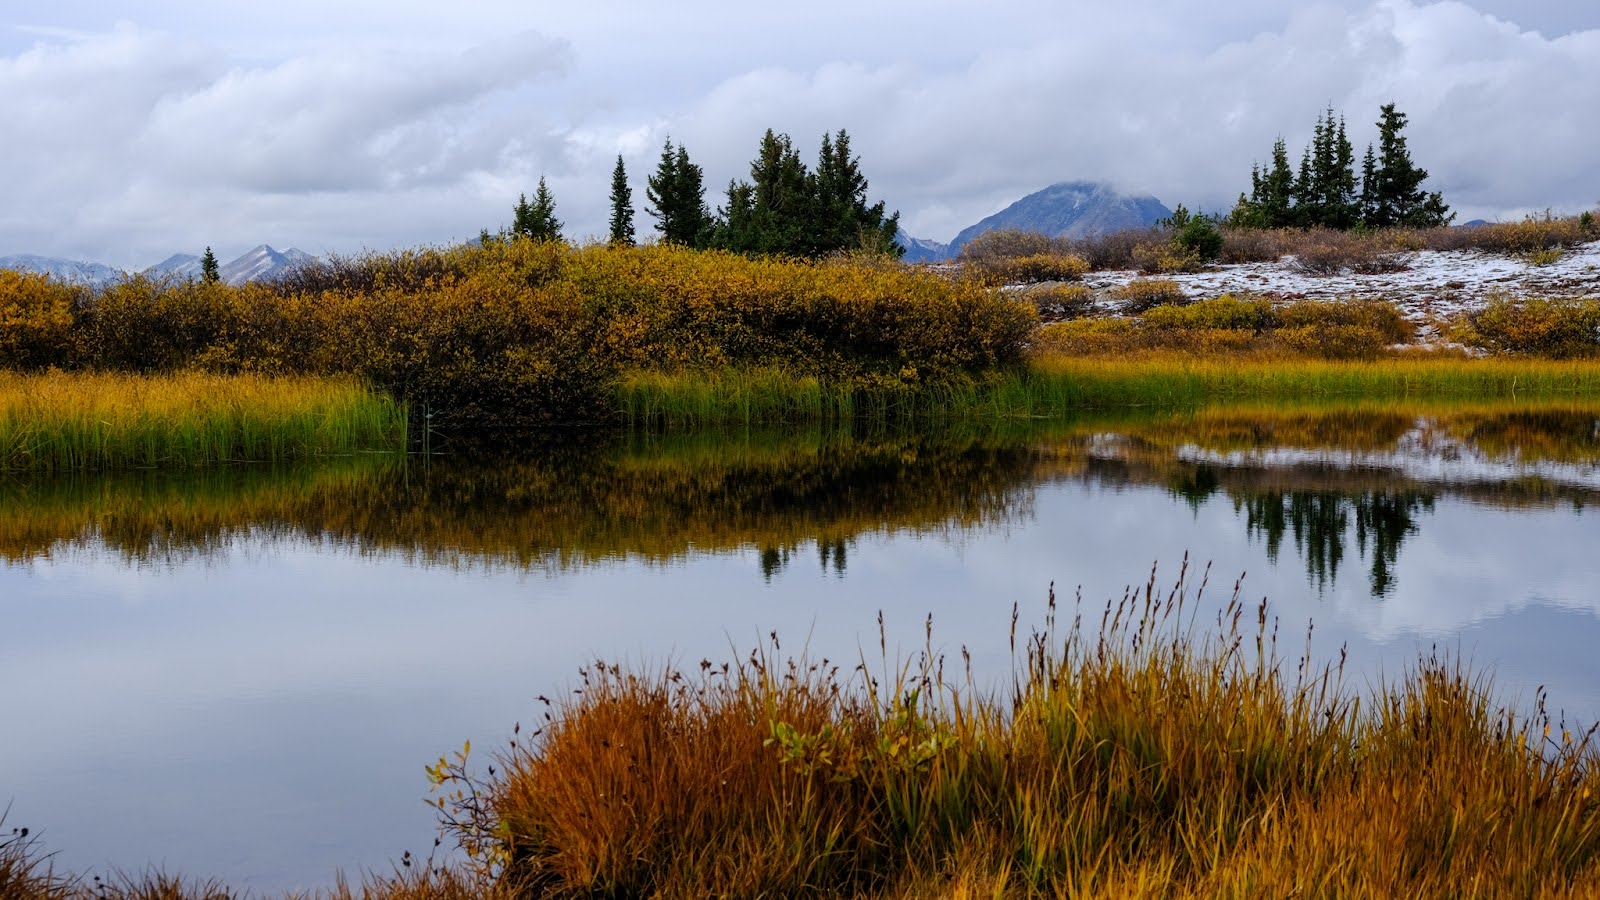
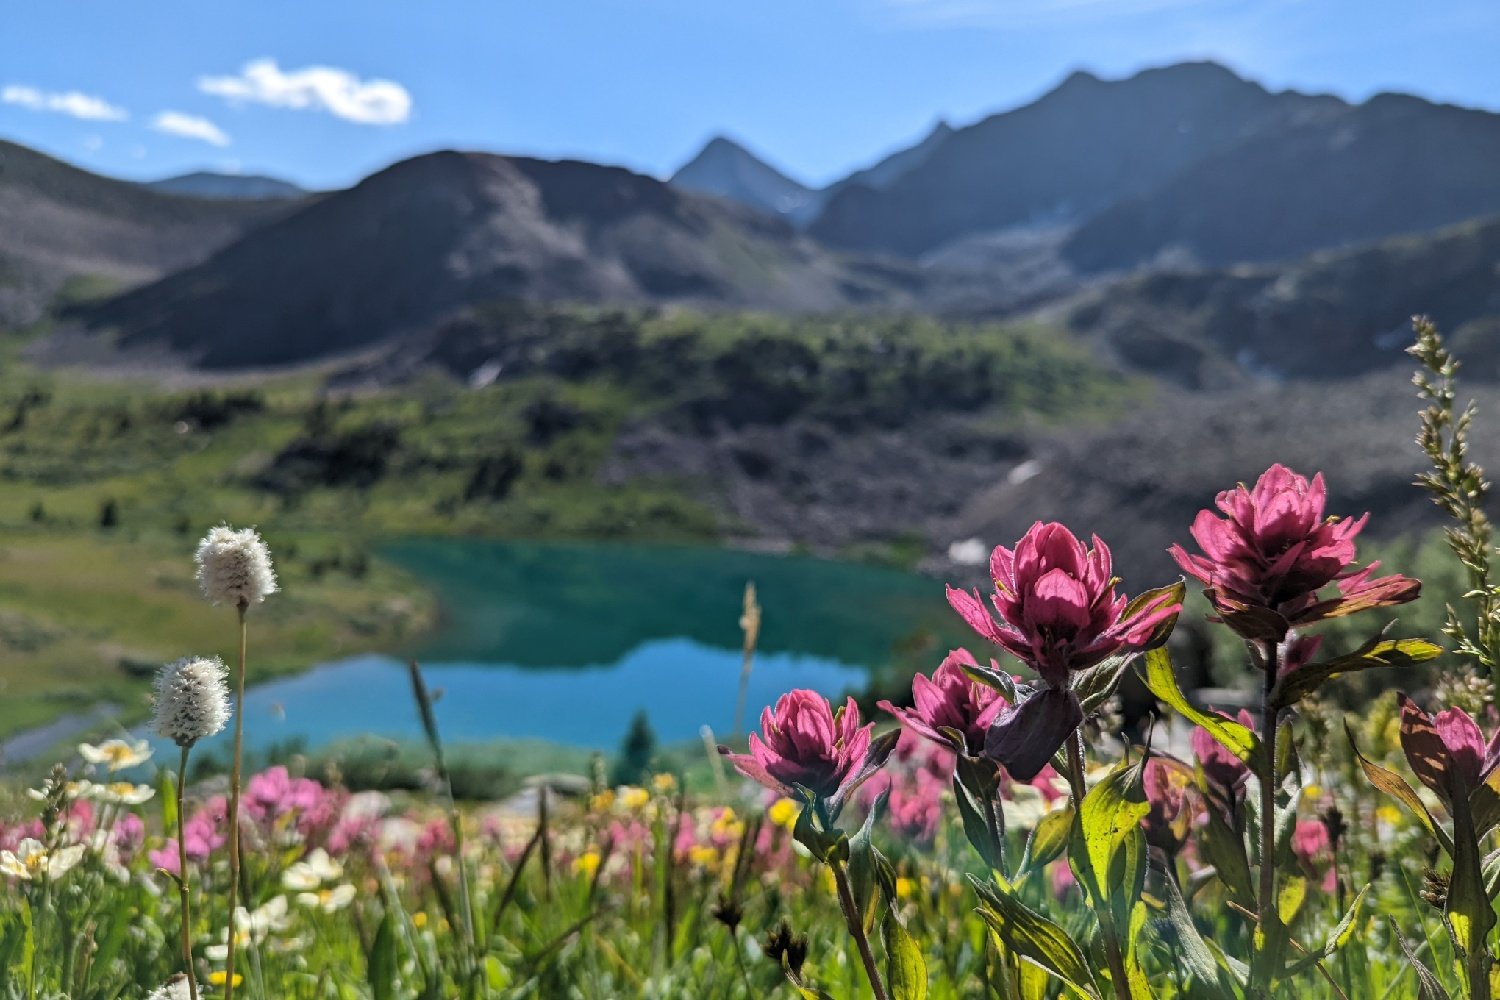
- Summer wildflowers and beautiful fall colors
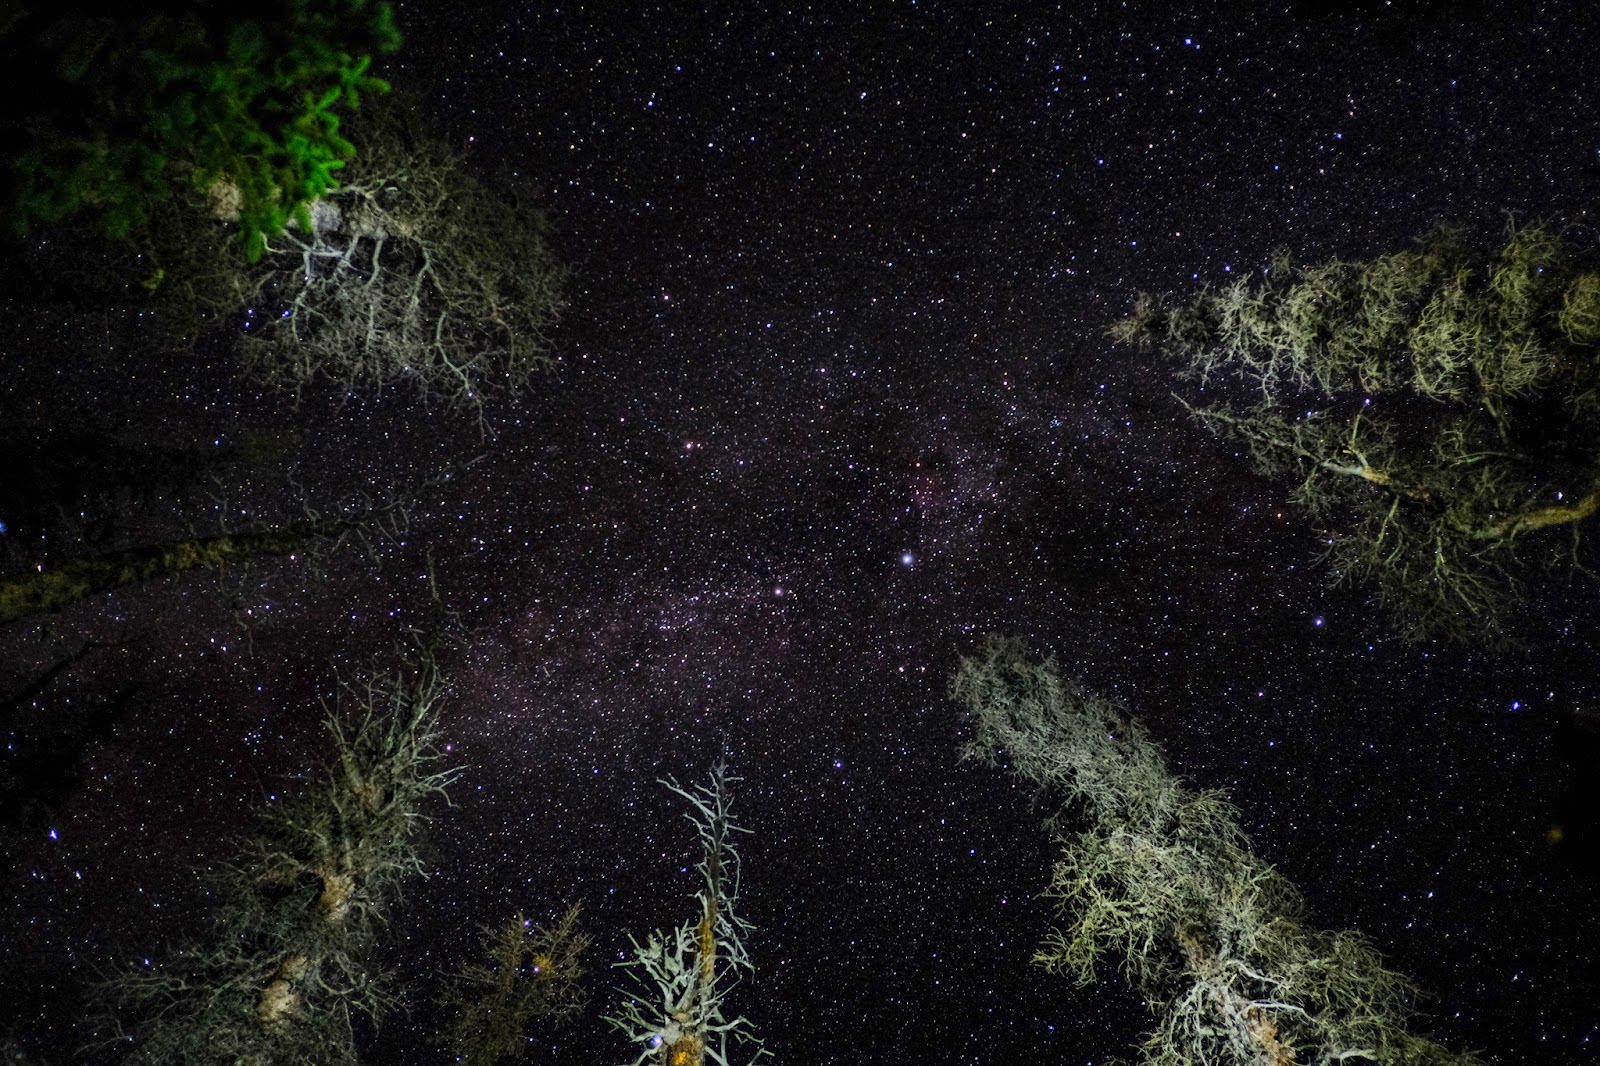
- Wonderful, dark night skies and stargazing
Lowlights
- Likelihood of afternoon thunderstorms in summer
- Possibility of snowstorms in early fall
- Mosquitos can be numerous at lower elevations in summer
- High elevations can be challenging physically
- Persistent snowpack at high elevations in early season
- Trail shared with mountain bikes in non-wilderness sections
- Heavy trail use on weekends in certain areas
Best Time to hike
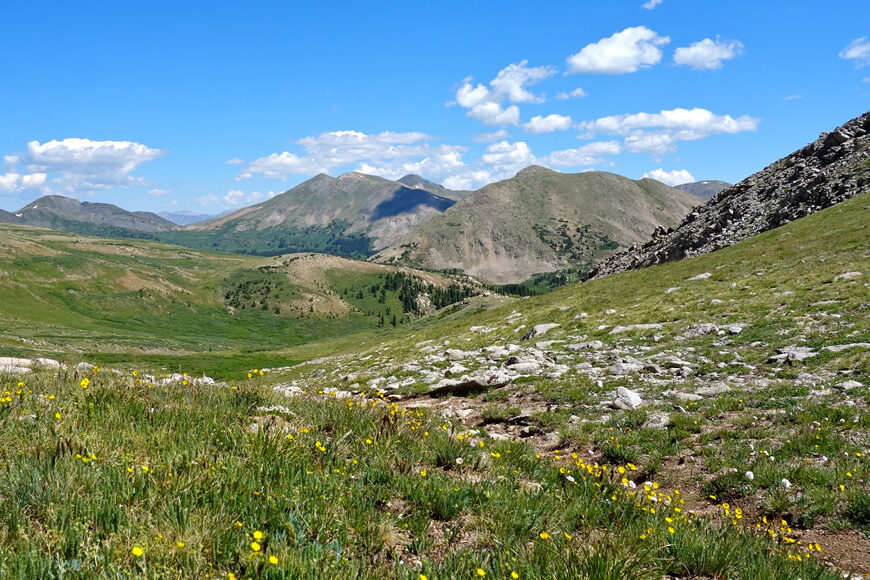
This area is generally accessible from late June through late September. Early season will expose you to the threat of afternoon thunderstorms, mud, and mosquitos. Navigating through the remaining snowpack along the high ridges may be challenging depending on the year’s snowfall. Frozen snowfields in the early morning or at night may be dangerous to cross and should be approached with caution. Summer wildflowers are plentiful and beautiful through July and early August. Late August into September generally provide more predictable, less severe weather and drier conditions. Late September is spectacular, with a jaw-dropping spectrum of fall colors. Temps will be much cooler at night with a growing chance of snow at higher elevations. Fresh snowfall is usually light during this part of the season and often melts the same day. All that being said, mid-July through mid-September will be most enjoyable for most hikers.
For current trail conditions, check the Colorado Trail Foundation Facebook page. You can send them messages, and they are very helpful with answering questions.
How long does it take?
The average hiker takes about 12-18 days to complete this loop. That works out to around 9-13.5 miles per day. And remember, you will likely have some shorter resupply days (or zero days), and there is a fair amount of elevation gain throughout this loop. Experienced, fit hikers may be able to complete this loop a bit faster, but we recommend planning on the safe side. We hiked this loop in 11 days with one zero day, two full resupplies, and one partial resupply. That said, we tend to hike a bit lighter and faster than many hikers we meet along the trail. Also, we would have been happy to take a couple of days longer if we had the time. If you’re experienced, light, and looking for a good challenge, we’re sure you could hike this loop in 10 or fewer days. But again, we recommend planning cautiously, and we think the average hiker will be happier with an itinerary that’s closer to two weeks.
Difficulty
We completed this loop in 11 days, covering around 15 miles per day at a fairly relaxed pace. Packing lightly will help you enjoy this trip more and cover the miles a lot more easily. We carried base weights of about 12 pounds and 8 pounds for this loop, which was lighter than most other hikers. If you’re interested in reducing your pack weight, check out the CleverHiker Gear Guide for all our top equipment recommendations and our tutorials page for general info/tips on backpacking light.
Hiking difficulty is a subjective and relative measurement. Considering that this is a fairly remote 160-mile loop at high elevation, with a good amount of climbing and the daily possibility of thunderstorms, we think this hike should be considered difficult but still very doable.
Choosing a direction
The most common starting point for this loop is the Twin Lakes Trailhead, which is about a 2.5-hour drive from Denver. That being said, you can start this loop hike from any trailhead along the way.
From the Twin Lakes Trailhead, you’ll hike 1.5 flat miles to the junction of the Colorado Trail East and the Colorado Trail West. At this point, you’ll choose which direction around the loop you will hike. Starting out along the CT East is a good choice. The eastern route is lower in elevation and is slightly less rugged, which will help ease you into the hike. The second half of your trip, the CT West, will be higher and slightly more difficult but should not be missed. Many of the best views of this trip can be found along the CT West.
East
The East side of the CT is the traditional route for thru-hikers of the Colorado Trail. It’s a wonderful mix of pine and birch forests, rolling hills, valleys, meadows, and high saddle ridges. Elevation on the East side is generally in the 8,000-10,000 foot range with a high point of 11,889ft. There are plenty of good climbs on the Eastern CT and a few great viewpoints, but not quite as many as on the West side. The Eastern CT route is well maintained, well traveled, and very well marked. It’s an extremely well-built trail (thank you, Colorado Trail Foundation!) that is easy to follow. Even on big uphill sections, the trail’s grade is generally mild, with switchbacks to help ease the climb.
West
The Western side of this loop is a slightly harder route, but the views are well worth the effort. The Collegiate West is above treeline for a large portion of the trail, which provides unobstructed views of craggy peaks for miles in every direction. Lake Ann Pass and Hope Pass (both around 12,550 feet) on the Collegiate West are not to be missed. While the views are better on the West side, the trail is sometimes shared with motorbikes and ATVs. The area around Monarch Pass, Tincup Pass, and Mirror Lake has the most motor vehicle traffic and can be a drag, especially on weekends. That being said, motor traffic on the trail is not that bad, and several Colorado Trail Foundation projects are currently focused on the Collegiate West. Volunteers are working to build new trails for hikers off jeep roads, which won’t be shared with any motorized vehicles. Visit the Colorado Trail Foundation volunteer page to find ways to help.
Permits
Permits are not strictly required to access hiking and camping in the Collegiate Peaks Wilderness. However, the USFS encourages voluntary registration at trailheads for data collection purposes and for emergency use by Search and Rescue.
Getting there
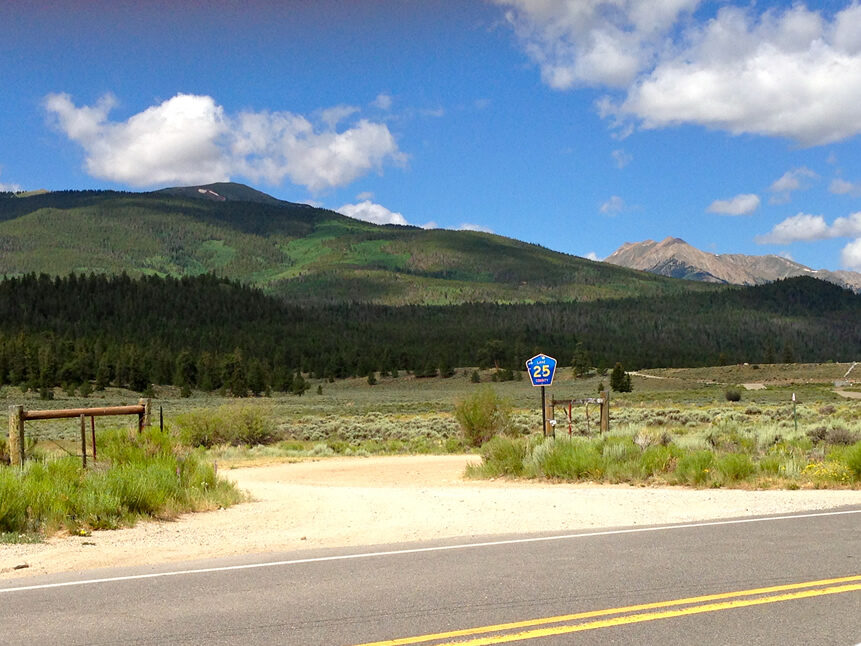
From Denver, the Twin Lakes trailhead is about a 2.5-hour drive. It can be hard to find Twin Lakes Village on Google Maps, so put in the zip code (81251) to make searching easier. From Leadville, take 24 South until you get to the turnoff for Twin Lakes Village, road 82. Turn right (West) on 82 and drive about a quarter of a mile until you see Road 25, a dirt road on your right. This is where the Twin Lakes Trailhead is located, but there isn’t any sign. Turn left on 25 and follow it briefly until you hit the trailhead.
Maps & Resources
The Colorado Trail Foundation (CTF) has some helpful information on their Collegiate East/West Page. The Colorado Trail Foundation Facebook Page is also a very helpful resource. They provide detailed descriptions of current trail conditions with updates on fire closures and snow levels. Locals, or those traveling from the Denver area, can visit the CTF Office in Golden, located in the American Mountaineering Center. They are very friendly, offering many resources and personalized advice, and have a great mountaineering museum.
The Colorado Trail Guide Book is an essential resource for this hike. If you could only choose one guide for this loop, this would be it. It lists detailed mileage of water sources, trail junctions, key landmarks, resupply access points, campsites, and much more. We wouldn’t recommend hiking this loop without it.
The Collegiate Loop Map Book is another great resource put out by the Colorado Trail Foundation. It provides detailed topographical maps of the entire loop. It shouldn’t be considered essential, but it’s well worth the investment. The trail is well-marked in most places (especially on the East side), but detailed maps are informative and helpful. We used the map book to help us through a few confusing trail junctions, which made it immediately worth the investment. We also used it to visualize our route and plan camping spots along the way.
The Latitude 40 Recreation Topo Map for Buena Vista and Salida is an incredibly valuable tool, covering almost the entire area of this hike, as well as much more of the surrounding area. Made locally in Colorado since 1989, these maps are high-quality, detailed, and essential for adventure.
Regulations
This trail provides access throughout areas of White River National Forest, Gunnison National Forest, San Isabel National Forest, and the Collegiate Peaks Wilderness Area. The most up-to-date information and regulations will be found on these official webpages. Please check for any fire restrictions in the area before you embark on your trip and plan accordingly. Wilderness Area regulations are extremely important to study and understand. These include the prohibition of drone use and mechanized travel in those areas. Be the best trail user you can be, clean up after others when necessary, and always leave no trace.
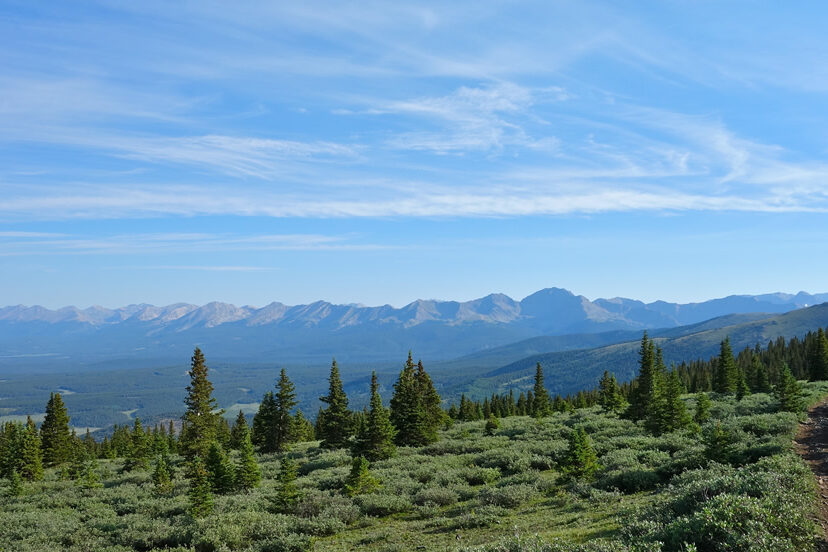
Water
We found water sources along this route to be plentiful. There are a few dry stretches where you’ll have to carry extra water, but for the most part, getting water is quite convenient. The Colorado Trail Guidebook is a very good resource for planning water sources throughout your hike. The book will tell you if a given water source is reliable, seasonal, or unreliable. Most water sources are quite clear at high altitudes, but it’s always recommended to filter and/or sterilize water before drinking. Check out our list of the best backpacking water filters if you’re in need of a new one.
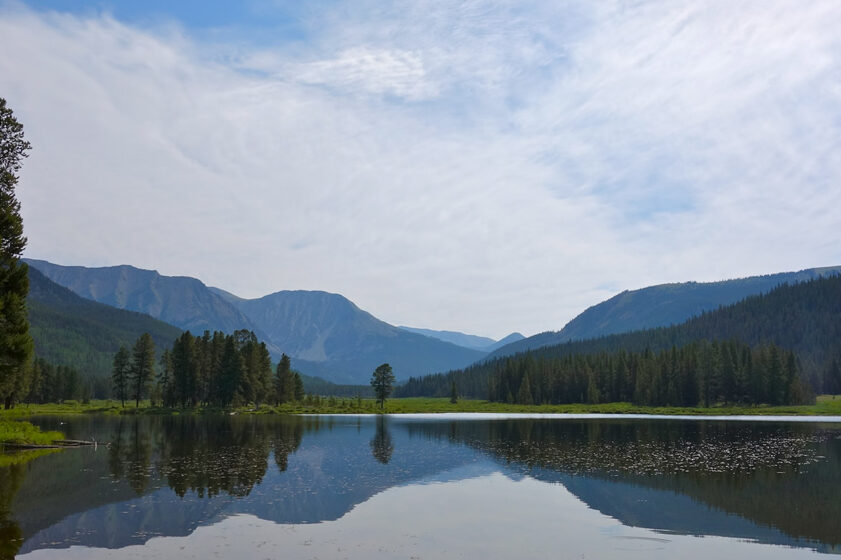
Resupply
Resupply points along the Collegiate Peaks Loop are very convenient. There are a couple of resupply spots right on the trail – Mt. Princeton Hot Springs & Monarch Pass Visitor’s Center. There are also several towns along the trail that are only a short hitchhike away. Most stores welcome hikers, and many places will allow you to ship resupply packages to them for holding. The Colorado Trail Guidebook lists all the common resupply access points, distances from the trail, and each location’s amenities.
We stopped at Mt. Princeton Hot Springs on day four for a full resupply. We stopped at Monarch Pass on day six to grab some snacks. And we hitchhiked into Buena Vista on day nine for our final resupply. Our resupply plan worked out great, but there are many other ways to split up the trip.
Mt Princeton Hot Springs has a small country store and is located right on the trail. For a small price, they will let you shower, and for a bit more, they will let you soak in their hot springs – please contact Mt. Princeton for exact prices. We hit the tubs and were very happy we did. Their store has a good assortment of snacks and carries Heet for alcohol stove users. The only downside was that they didn’t have any good trail dinner options for backpackers. Mt. Princeton is happy to accept and hold resupply packages for thru-hikers.
Monarch Pass has a small assortment of snacks, a hot food bar, and homemade ice cream. It’s a great spot to grab some grub right on the trail. It shouldn’t be considered a place where you can fully resupply for food. Resupply packages are accepted at this location. Visit their page for thru-hikers for specific requirements for resupply packages.
Buena Vista is a town with everything that you would need to resupply. They have a grocery store, laundry, great restaurants, motels, coffee shops and much more. We recommend The Trailhead outdoor gear shop for any odds and ends you may need. The town is not too big to be unmanageable for hikers, and getting back to the trail by hitchhiking is easy.
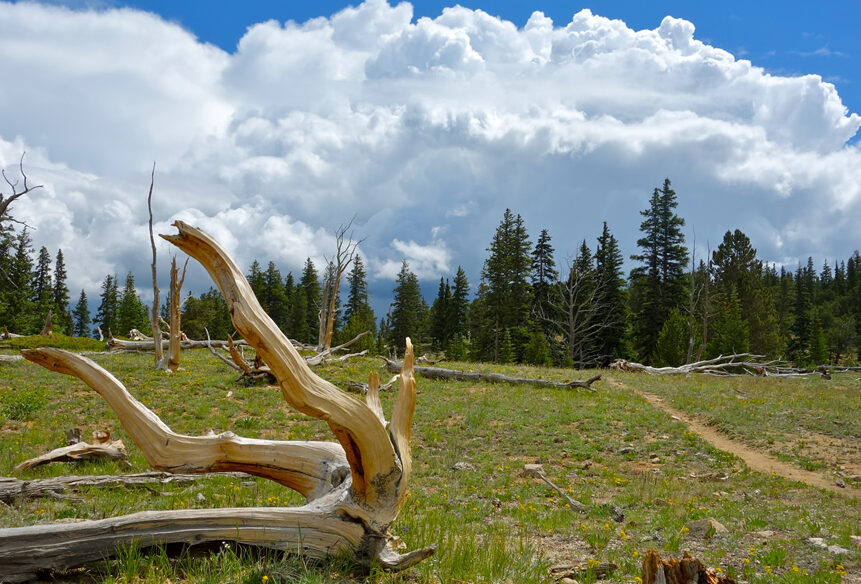
Collegiate East route description
The most common starting point for this loop is the Interlaken Trailhead, midway through segment 11 of the CT, which is about a 2.5-hour drive from Denver. Just south of Twin Lakes, Clear Creek Trailhead is also a good option, allowing immediate access to water and big wilderness. That said, you can start this loop hike from any trailhead along the way.
The East side of the loop is the traditional route for thru-hikers of the Colorado Trail. Spanning segments 11.5-15 of the CT, It’s a wonderful mix of pine, aspen, and birch forests, rolling hills, cascading creeks, huge valleys, flower-filled meadows, and high saddle ridges. Elevation on the East side is generally in the 8,000-10,000 foot range with a high point of 11,889ft. There are plenty of good climbs on the Eastern CT and a few great viewpoints. The route is well maintained, well traveled, and very well marked, and it provides a resupply point or rest day in nearby Buena Vista, Salida, or Cottonwood Hot Springs. It’s an extremely well-built, beautiful trail that is easy to follow. Even on big uphill sections, the trail’s grade is generally mild, with many switchbacks to help ease your climb and save your knees on the descent.
CT Segment 11.5 | 7.8 miles: From the Interlaken Trailhead, you’ll hike 1.5 flat miles by the lake to the junction of the Colorado Trail East and the Colorado Trail West. Go Left at the intersection to begin the clockwise loop starting with the CT East. The first 10 miles are a great warm-up through lower elevation pine forest on the way to Clear Creek Reservoir. After a splash in the lake and a refill on water, you’ll climb to find solitude in the less-traveled Collegiate Peaks Wilderness area spanning the next 15 miles.
Segment 12 | 18.5 miles: Two miles past the lake, you’ll cross the wilderness boundary and enter into the land before time. A hefty climb of 5 miles and 2500’ will be the first test of your journey. After dropping back down through the moose and beaver-filled Pine Creek Valley, you’ll officially be out there. Congratulations! Another stiff climb up and over the east ridge of Mount Harvard, and then you can enjoy the long gradual downhill traverse into Silver Creek.
Segment 13 | 22.8 miles: The climb from SIlver Creek will take you through mature forest to the highest point yet, on the East Ridge of Mount Yale. Make sure to enjoy the view before dropping all the way back down to Cottonwood creek. North Cottonwood road provides access to Cottonwood Hot Springs if you’re ready for a luxurious detour, and also access to a full resupply in Buena Vista 10 miles to the east. The remainder of this segment is a winding cruise through low elevations, with good camping opportunities. The final 5 miles follow the Mount Princeton 4wd drive road past Mount Princeton Hot Springs.
Segment 14 | 20.4 miles: After a hot soak, a cup of coffee, and a resupply, you’ll hit the road out of town through some beautiful country with quaint cabins before getting back on the trail. You’ll flow right through the next 15 miles of rolling, forested terrain with many creek crossings and a high point of just over 10,000 ft. After 20 relatively leisurely miles, you’ll reach US Highway 50 and the South Arkansas River.
Segment 15 – 14.3 miles: Once you leave the highway behind, you’ll follow a jeep road up to Foose’s Creek trailhead. Rooted forest trail will then guide you through a lush, gorgeous valley, with plenty of access to water. You’ll climb from 8,800 feet to nearly 12,000 feet over 8.5 continuous miles. Hang in there though, you’ll soon find the treeline, and be rewarded with extravagant views from the top of the continental divide. Enjoy the high-mountain traverse, as you make your way back towards Monarch Pass. Resupply on trail snacks at the Monarch Crest Visitor Center before connecting to the Western portion of the loop.
Note: Foose’s Creek trail is a coveted, high-speed descent frequented by mountain bikers, and the adjoining section Monarch Crest is a popular trail as well. Keep your eyes and ears open in this area and remember to be encouraging and kind to other trail users.
Collegiate West route description
The Western side of this loop is slightly harder and more remote, but the views are well worth the effort. Similar to the rest of the main CT, the Collegiate West is broken up into segments averaging 16.6 miles. We’ll give a brief overview of each of the five that make up the CT West, beginning from the North and moving South.
Segment One | 9.8 miles: Beginning from Twin Lakes, the Collegiate West is mostly flat and cruisey for the first 5 miles. You’ll leave the lowlands at Willis Gulch, as the trail climbs steadily from 9300’ through San Isabel National Forest to 12,550’ at Hope Pass. This well-earned high point provides glorious, unobstructed views of craggy peaks for miles in every direction. Descend into the gorgeous Clear Creek Valley and give yourself a high-five.
Segment Two | 25.9 miles: The trail winds through lower elevations in the shadow of Huron Peak (14,003’) as you gradually gain 1,000’ over 7 beautiful miles. Emerging from the woods, you’ll climb sharply past Lake Ann (11,085’) and summit Lake Ann Pass (12,550’) on the Continental Divide. This view of Taylor Park and the Collegiate Peaks Wilderness is not to be missed. Descending into Taylor Park, the well-established Timberline Trail is outside the wilderness boundary and is shared with motorized trail users for about 6.7 miles. As of July 2023, the USFS has opened a brand new section of trail bypassing this motor-use area. 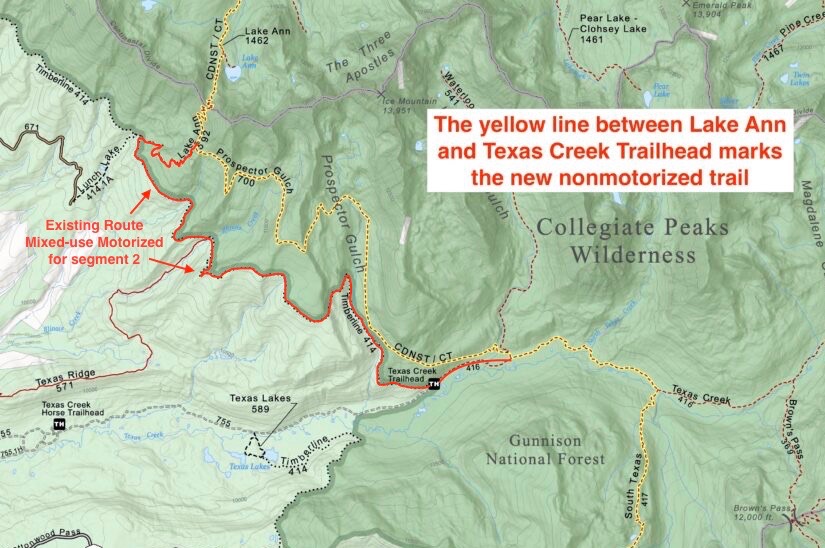
The trail signs toward Prospector Gulch indicate the new trail, but certain sections may not yet be clearly defined. Read this post at Coloradotrail.org, and understand that this trail will not appear on older maps or even popular digital maps. We recommend the Prospector Gulch option, as motor use on Timberline Trail can be significant. Eventually, at Texas Creek, hiker-only Wilderness area trail resumes as you climb steadily to Cottonwood Pass.
Note: Cottonwood Pass is crossed by a newly-paved county road which could serve as a strategic resupply, hitch hike or bail-out to Buena Vista if needed.
Segment Three | 16 miles: A mind-expanding section of high-alpine bliss. Crisscrossing the Continental divide at an average of 12,200 ft., you’ll enjoy panoramic views of alpine lakes, high peaks, furry marmots and endless nature all the way to Tincup Pass. Keep a close eye on the weather and get an early start, but don’t forget to stop, smile, and smell the flowers.
Note: The area around Tincup Pass and Mirror Lake is a popular motor vehicle use area and can be busy, especially on weekends. That being said, motor traffic on the trail is really not that bad.
Segment Four | 16.9 miles: Meander through broad basins, alpine willows, and historic mining ruins along the Alpine Tunnel Trail, before dropping into the old ghost town of Hancock. You’ll climb past Hancock lakes, with a short ascent over Chalk Creek Pass (12,070 ft.) before descending to the headwaters of the middle fork Arkansas River. Abundant water and camping opportunities await.
Segment Five | 16 miles: Ascending past alpine lakes, the trail brings you switch-backing up to the Great Divide. At the third lake, you’ll want to fill up on water. It’s high and dry for the next 8.5 miles. Enjoy the spectacular scenery from the top as you traverse along the treeline. Reach Monarch Pass before closing time to pick up your resupply box, stock up on snacks and water, and return to the trail to join CT East.
Climate
Other than the likelihood of afternoon thunderstorms, we found the climate to be very pleasant. It was warm during July days (around 70 degrees F) and cooled off at night, but not too cold (around 40 degrees F). Check weather forecasts before you head out and be prepared for high-elevation climate changes, precipitation, and colder nighttime temperatures.
As pleasant as Colorado’s high country can be, weather conditions change quickly and dramatically. Don’t wait to layer up with insulation and rain protection if bad weather rolls in. Rain can turn to snow, temperatures can plummet, and strong winds can create dangerous situations in a hurry.
Thunderstorms
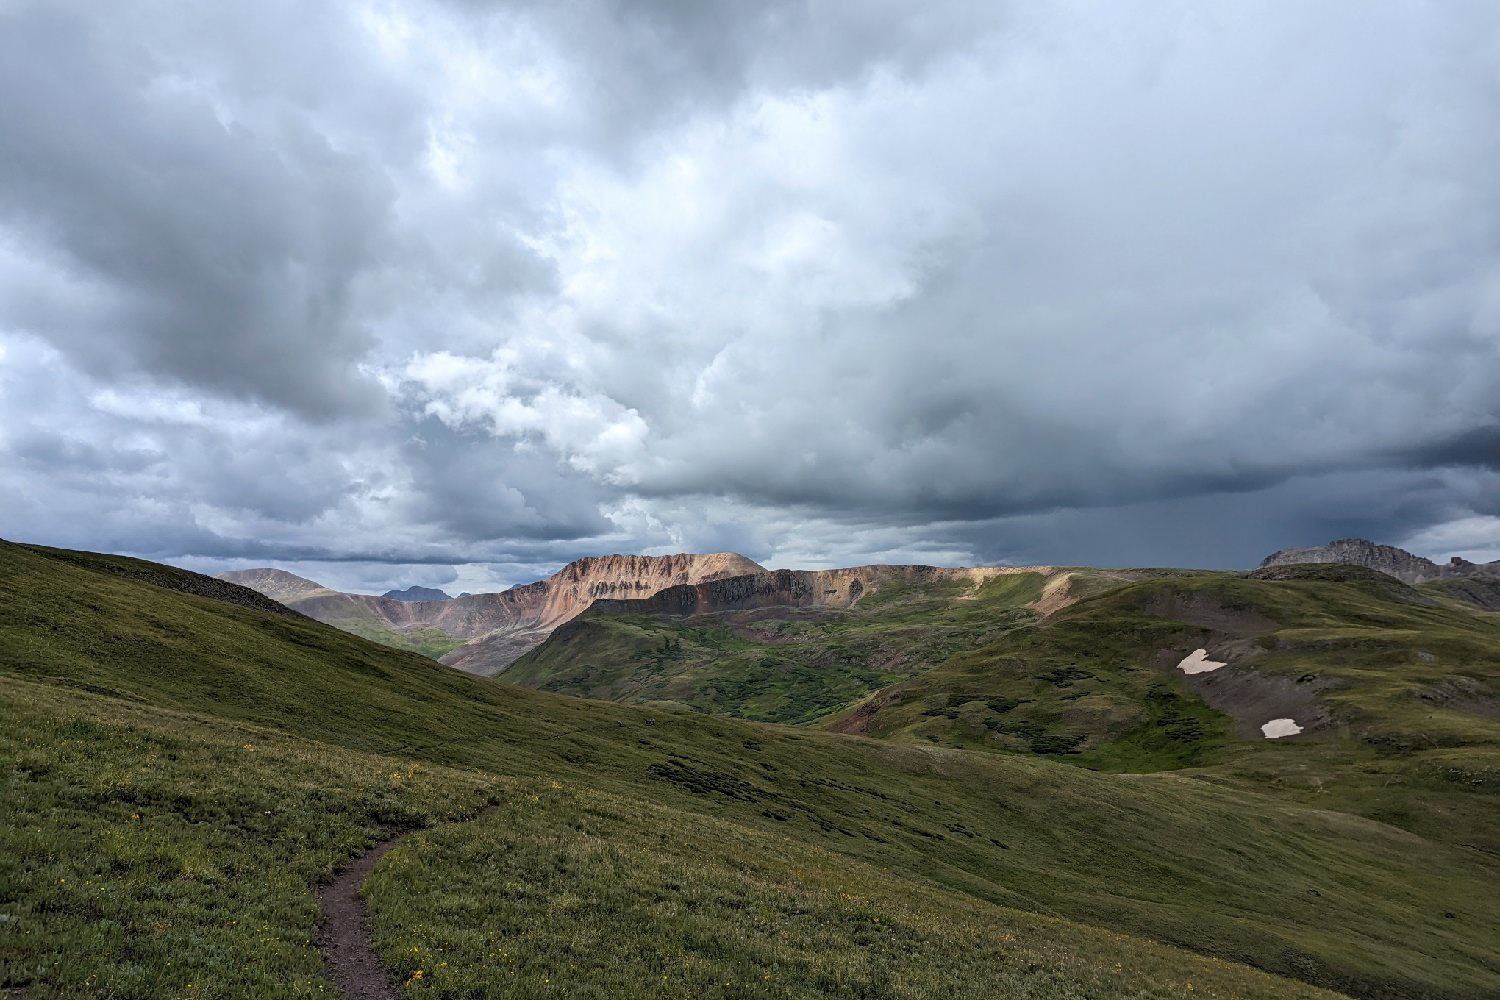
Thunderstorms are part of high-elevation hiking in Colorado and should definitely be planned for. Fortunately, the timing of storms is generally consistent. Cloud systems develop in the early afternoon, and thunderstorms generally start around 1-3 pm. For that reason, it’s best to get up early in the morning and get on the trail. Even a bluebird day can lead to afternoon thunderstorms, so don’t get caught unprepared.
We were on the trail for eleven days, and almost every day, there was a 30-60% chance of thunderstorms. That’s just the norm. We only had heavy precipitation on three days of our trip, but there were often looming clouds and thunder rumbling around us. We did experience one intense storm with hail, rain, and booming thunder directly overhead. We were fully prepared for the storm, so it was actually quite exciting. Check out our video on lightning danger and high elevation hiking to brush up on your skills.
Sun
Sun exposure is more intense at high elevations. Make sure to use sunscreen generously, bring a hat for sun protection, bring a pair of UV sunglasses, and bring lip balm with UV sun protection. Cover up exposed skin with one of our recommended lightweight, hooded sunshirts for maximum simplicity and comfort. Stay well hydrated. Increased sun exposure will drain your body of fluids quicker. Consider experimenting with supplemental electrolytes, such as LMNT, before and during your trip to maximize hydration and physical performance in these harsh climates.
Altitude
You will be hiking at high altitudes (8,000-13,000 feet) for the entirety of this loop, so be prepared for high-elevation backpacking.
Air pressure is lower at high elevations, so you’ll get less oxygen with every breath. Your body will have to work harder, and you will likely notice the effects of altitude, especially on big climbs. Make sure your body is ready for this trip, and budget extra time to cover terrain in these high areas. Being in good shape and training before your trip will help a lot. You can definitely complete this loop but don’t expect to come off the couch and hike at high elevations without being prepared. A helpful tip is to slow your pace and help your body use energy more efficiently at high elevations.
Annie and I live in Portland, Oregon, with an elevation of 50 feet. We spent one day in Colorado before heading out to the trail, and we hardly even noticed the elevation change. Some people experience stronger effects than others, but elevation wasn’t really an issue for us. That being said, we did notice heavier breathing, lower energy, and slower pace on big climbs throughout the trip, so make sure to plan your days accordingly.
Wildlife
Black bears are present in these areas along the trail, but they are generally afraid of and avoid humans. These wild bears are not accustomed to associating humans with possible food sources, so they are not considered as aggressive as bears in other areas. That being said, please be careful to take proper precautions to thoroughly clean up and secure your food at night. We want to keep human food away from bears and keep their natural foraging instincts intact. Bear canisters are not required in this area, but you should properly store your food at night, wash your hands and face after eating, and avoid eating inside your tent whenever possible.
Mountain Lions inhabit this region and are most active around dusk and twilight hours. Always observe your surroundings in these wild places, listen for activity, and look behind periodically as you move across the terrain. That said, big cat sightings are rare, and encounters with hikers are very unlikely.
Rodents come in many shapes and sizes in this area. From porcupines and marmots to squirrels and chipmunks. Bonus points if you spot an adorable pika or long-tailed ermine. Take care, however, as these hungry critters may sneak away with your snacks. Never feed chipmunks, and keep food off the ground to avoid any holes chewed in your storage sack.
Bugs
There were a few swampy spots with annoying mosquitoes, but for the most part, we went unbothered by bugs for our entire trip. I’m generally pretty zen about mosquitoes, but if the bugs get bad, I won’t hesitate to use spray. We brought bug spray with us, but we hardly used it at all.
Gear List
Make sure to check out our Ultimate Backpacking Checklist so you don’t forget something important.
Below you’ll find our current favorite backpacking gear. If you want to see additional options, our curated gear guides are the result of many years of extensive research and hands-on testing by our team of outdoor experts.
BACKPACK
- Best Backpacking Pack Overall: REI Flash 55 – Men’s / REI Flash 55 – Women’s
- Best Ultralight Backpacking Backpack: Hyperlite Mountain Gear Unbound 40
- More: Check out our best backpacking backpacks guide for ultralight and trekking options
TENT
- Best Backpacking Tent Overall: Big Agnes Copper Spur HV UL2
- Best Ultralight Tent: Zpacks Duplex
- Best Budget Tent: REI Half Dome SL 2+
- Best Tent Stakes Overall: All One Tech Aluminum Stakes
- More: Check out our best backpacking tents guide for more options
SLEEPING BAG/QUILT
- Best Sleeping Bag Overall: Men’s Feathered Friends Swallow YF 20 / Women’s Feathered Friends Egret YF 20
- Best Quilt Overall: Enlightened Equipment Revelation 20
- More: Check out our best backpacking sleeping bags guide and best backpacking quilts guide for more options
SLEEPING PAD
- Best Sleeping Pad Overall: NEMO Tensor All-Season
- Best Foam Sleeping Pad: NEMO Switchback
- More: Check out our best backpacking sleeping pads guide for ultralight and trekking options
CAMP KITCHEN
- Best Backpacking Stove Overall: MSR PocketRocket 2
- Best Backpacking Cookware Overall: TOAKS Titanium 750ml
- Best Backpacking Coffee Overall: Starbucks VIA
- More: Check out our best backpacking stoves guide and best backpacking cookware guide for ultralight and large group options
WATER & FILTRATION
- Best Water Filter Overall: Sawyer Squeeze
- Best Hydration Bladder Overall: Gregory 3D Hydro
- Best Backpacking Water Bottles: Smartwater Bottles
- More: Check out our best backpacking water filters guide and best backpacking water bottles guide for ultralight and large group options
CLOTHING
- Best Hiking Pants Overall: Men’s Outdoor Research Ferrosi / Women’s The North Face Aphrodite 2.0
- Best Hiking Shorts Overall: Men’s Patagonia Quandary / Women’s Outdoor Research Ferrosi
- Best Women’s Hiking Leggings: Fjallraven Abisko Trekking Tights HD
- Best Rain Jacket Overall: Men’s Patagonia Torrentshell 3L / Women’s Patagonia Torrentshell 3L
- Best Rain Pants: Men’s Patagonia Torrentshell 3L / Women’s Patagonia Torrentshell 3L
- Best Down Jacket Overall: Men’s Patagonia Down Sweater Hoodie / Women’s Patagonia Down Sweater Hoodie
- Best Fleece Jacket Overall: Men’s Patagonia Better Sweater / Women’s Patagonia Better Sweater
- Best Sunshirt Overall: Men’s Outdoor Research Echo / Women’s Outdoor Research Echo
- Best Socks Overall: Men’s Darn Tough Light Hiker Micro Crew / Women’s Darn Tough Light Hiker Micro Crew
- Beste Ultralight Liner Glove: Patagonia Capilene Midweight Liner
- More: Check out our best backpacking apparel lists for more options
FOOTWEAR & TRACTION
- Best Hiking Shoes Overall: Men’s HOKA Speedgoat 6 / Women’s HOKA Speedgoat 6
- Best Hiking Boots Overall: Men’s Salomon X Ultra 4 GTX / Women’s Lowa Renegade GTX
- Best Hiking Sandals Overall: Men’s Chaco Z/1 Classic / Women’s Chaco Z/1 Classic
- Best Camp Shoes Overall: Crocs Classic Clogs
- Best Traction Device for Hiking Overall: Kahtoola MICROspikes
- More: Check out our best backpacking footwear lists for more options
NAVIGATION
- Best GPS Watch Overall: Garmin Instinct 2 Solar
- Best Personal Locator Beacon (PLB): Garmin inReach Mini 2
- More: Check out our article How to Use Your Phone as a GPS Device for Backpacking & Hiking to learn more
FOOD
FIRST-AID & TOOLS
- Best First-Aid Kit Overall: Adventure Medical Kits Ultralight/Watertight .7
- Best Pocket Knife Overall: Kershaw Leek
- Best Multitool Overall: Leatherman Wave+
- Best Headlamp Overall: Black Diamond Spot 400-R
- Best Power Bank Overall: Nitcore NB 10000 Gen 3
- More: Check out our best first-aid Kit guide, best pocket knife guide, best multitool guide, best backpacking headlamps guide, and best power banks guide for more options
MISCELLANEOUS
- Best Trekking Poles Overall: Black Diamond Pursuit
- Best Backpacking Chair Overall: REI Flexlite Air
- Best Backpacking Stuff Sack Overall: Hyperlite Mountain Gear Drawstring
- More: Check out our best trekking poles guide, best backpacking chairs guide, and best stuff sacks guide for more options
